Design Review and Markup
This lesson demonstrates how to generate comments using design review and markup in OrCAD X PCB Designer 23.1. After you complete this topic, you will be able to:
- Add comments to a PCB design file
- Review comments from other designers
To follow along, continue with the design from the previous lesson or use the downloaded materials.
If materials were not downloaded at the start of the walk-through, they can be accessed in the Materials tab of this lesson.
Design Review and Markup Video
 Open in New Window
Adding Comments
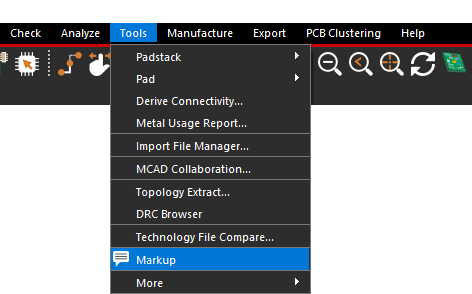
Step 1: Select the Markup icon on the toolbar or Tools > Markup from the menu to open the Comments panel.
Step 2: In the Comments panel, select New Comment.
Step 3: Zoom into the desired section of the board.
Step 4: Type the comment into the Comment bar.
Note: Tag coworkers using the ‘@’ symbol and their username.
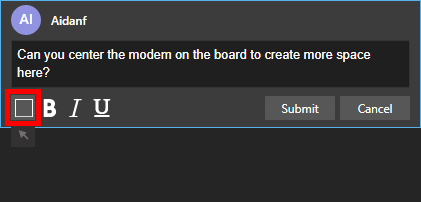
Step 5: Select the Draw Rectangle icon.
Note: To draw an arrow, hover your mouse over the draw rectangle button and click to select the arrow tool.
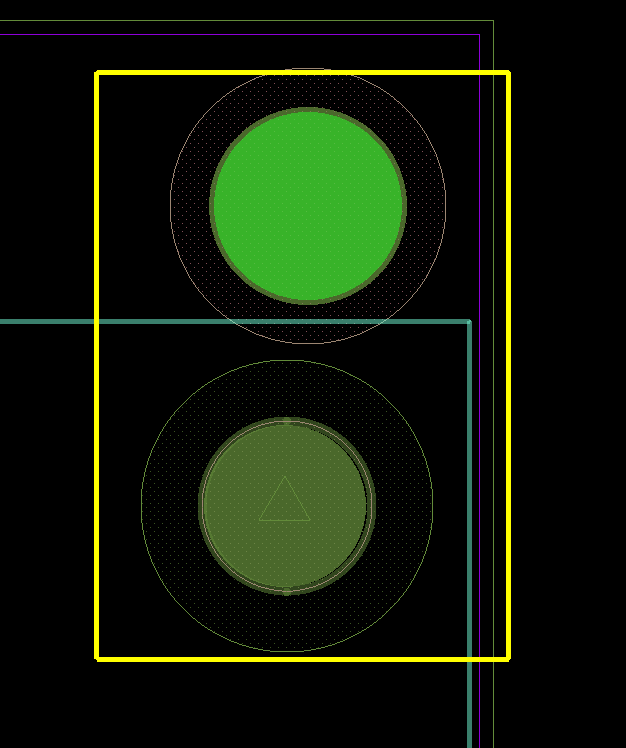
Step 6: Click to begin the rectangle. Move the mouse to draw the rectangle over the area of interest on the PCB and click to finish the rectangle.
Step 7: Click Submit.
Note: The comment has been embedded into the design database and is now accessible for any users to review.
Reviewing Comments
Step 8: Open the board file in OrCAD X.
Note: Design Review and Markup is also available in OrCAD X Presto 23.1 and Allegro X 23.1, allowing seamless design reviews with team members.
Step 9: Select the Markup icon on the toolbar or Tools > Markup from the menuto open the Comments panel.
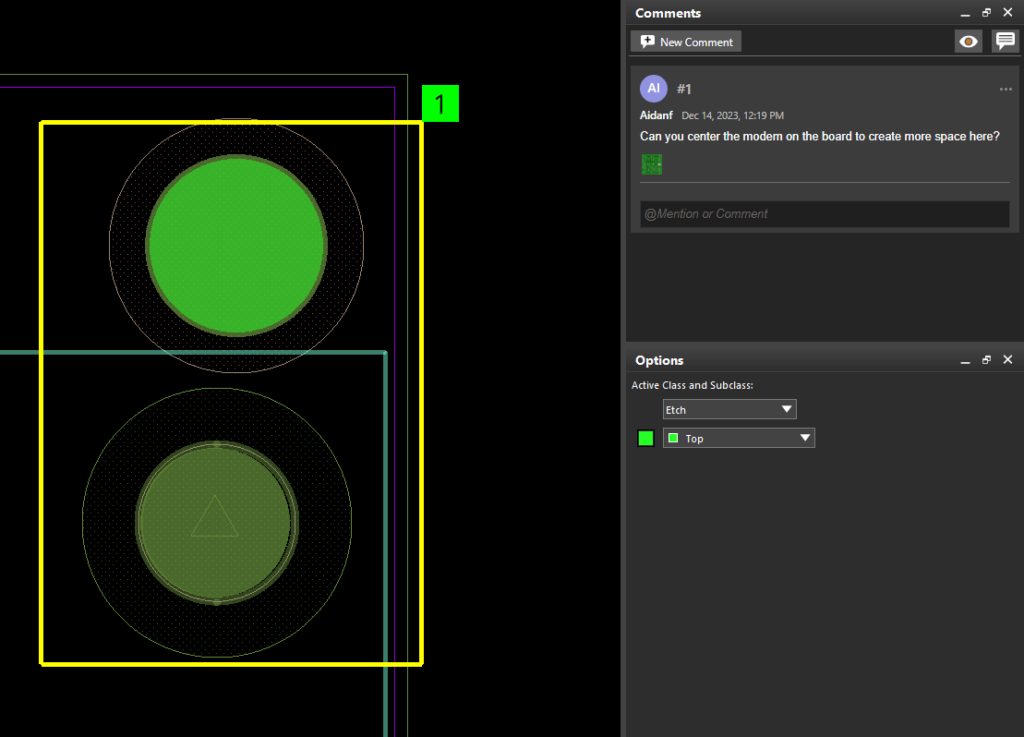
Step 10: View the comments. Click the comment to be brought to the location on the PCB.
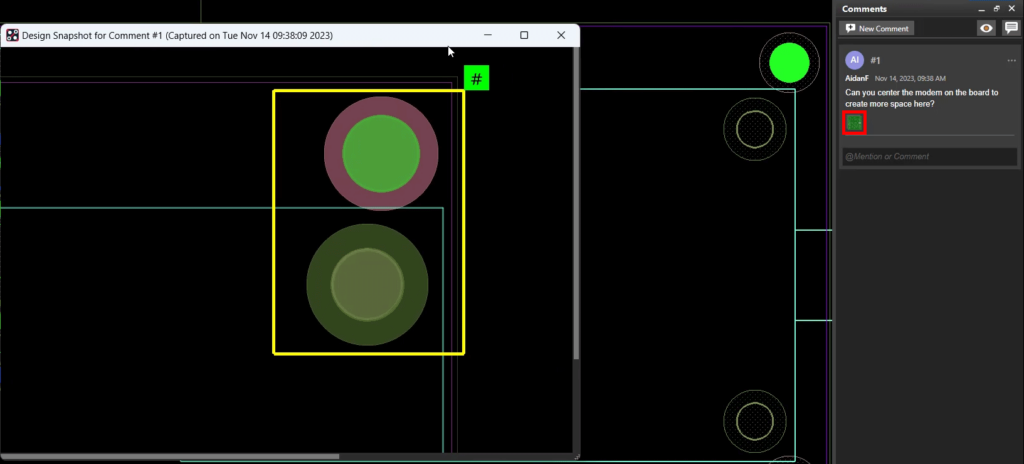
Step 11: Click the icon of the PCB to bring up a snapshot of the PCB when the comment was recorded.
Step 12: Click in the @Mention or Comment box and type a response to the comment. Click Submit.
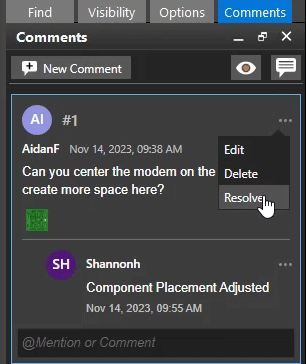
Step 13: Click the ellipsis at the top of the comment and select Resolve.
Note: Here you can also edit and delete comments.
Step 14: In the Comments panel, click the Comment icon to turn off visibility of the comments.
Step 15: Repeat this process as needed to efficiently communicate with team members and perform design reviews.