Placing Parts
This walk-through demonstrates how to place PSpice parts into a Capture schematic in version 17.4 (2021). After you complete this topic, you will be able to:
- Place PSpice parts on your schematic
- Perform a part search and place the part
To follow along, continue working with the design completed in PSpice Walk-through 1 or open the provided design file, PSpice Walk-through 2_Placing Parts.
If Materials were not downloaded in the beginning of the course, they can be accessed in the Materials tab for this lesson.
 Open in New Window
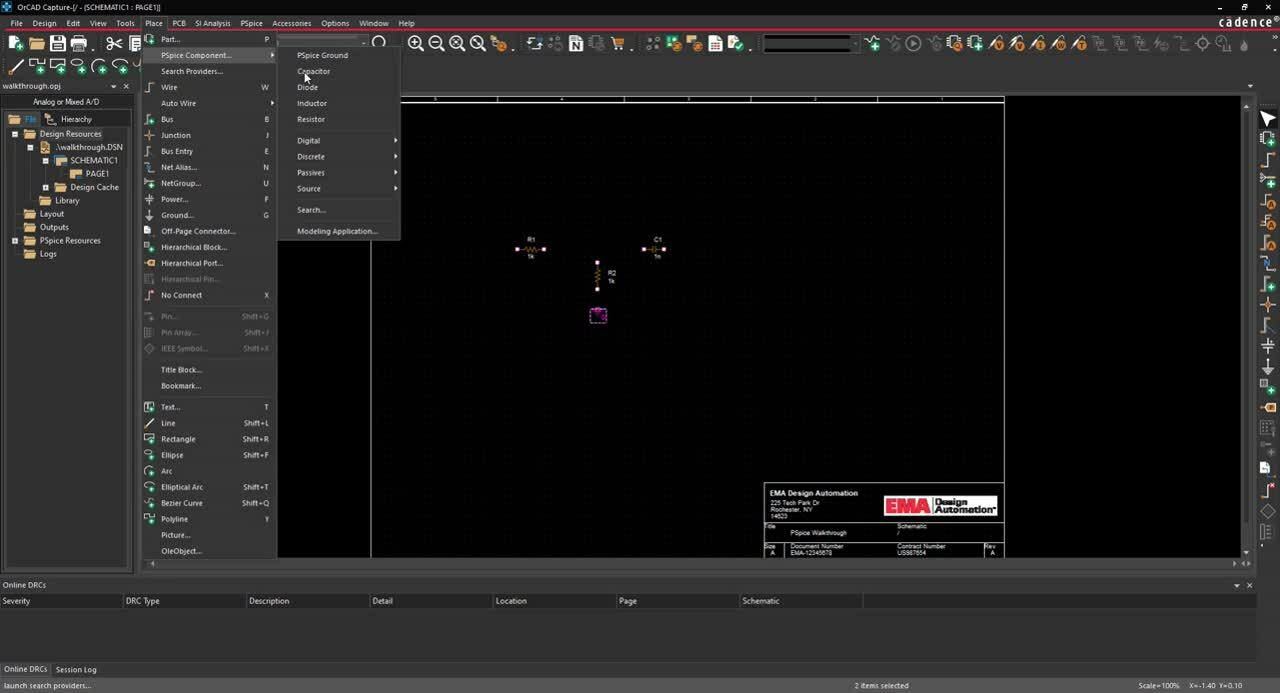
Step 1: Select Place > PSpice Component > Resistor.
Step 2: Click to place the resistors on the schematic.
Note: To rotate, use the key R on the keyboard.
Step 3: Select Place > PSpice Component > Capacitor.
Step 4: Click to place on the schematic.
Step 5: Select Place > PSpice Component > PSpice Ground.
Step 6: Click to place on the schematic.
Step 7: Right click and select End Mode (ESC).
Step 8: Select Place > PSpice Component > Search.
Step 9: In the Search window, type 74*16 and Search (Enter).
Note: Use the wildcard symbol * as a variable to search all part names and descriptions. The search results retrieved include all part names and descriptions that include the characters you entered.
Step 10: In the Search window, type Counter and Search (Enter).
Step 11: Double click the part in the search results.
Step 12: Click to place in the schematic.
Step 13: Right click and select End Mode (ESC).
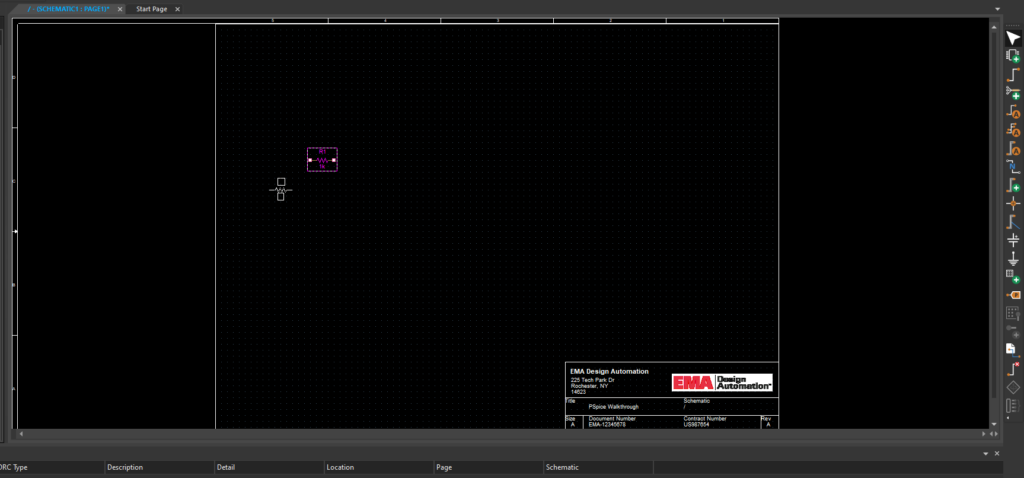
Step 14: Click to select the component. Right click and select Delete.
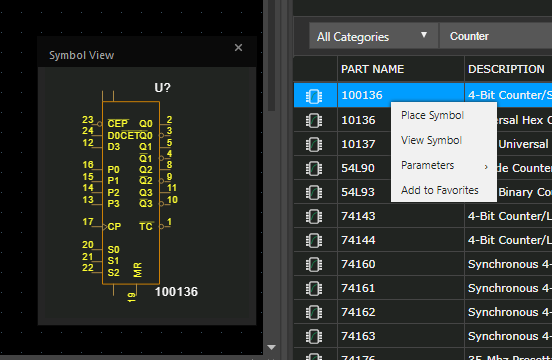
Note: To see a symbol before you place it on the schematic, click the Symbol Viewer icon that is located next to the Search Categories control.
Step 15: Select Place > PSpice Component > Source > Voltage Source > DC.
Step 16: Click to place in the schematic.
Step 17: Right click and select End Mode (ESC).
Note: Independent Sources or PWL Sources can be placed from the Modeling Application (Place > PSpice Component > Modeling Application > Sources). From the Independent Sources window, you can choose several types of sources such as step, sine, and impulse. You can select the parameters and the tool will generate the source.