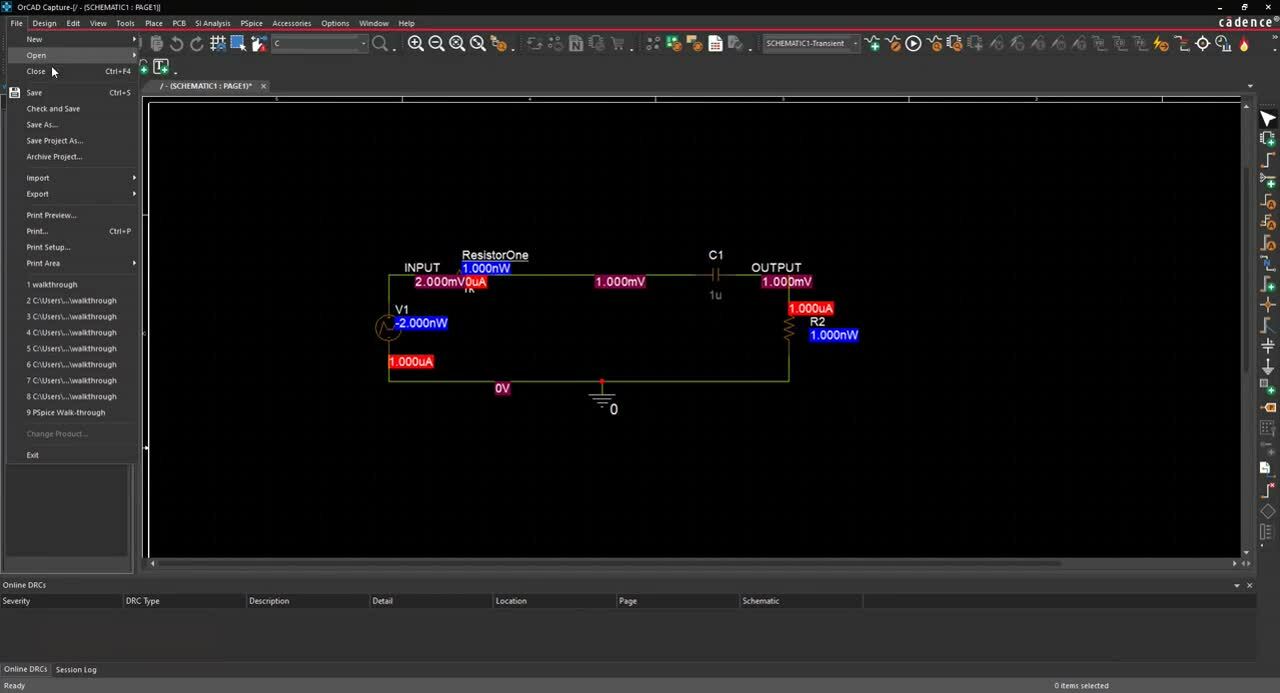
Save As and Archiving
This walk-through demonstrates the “Save As” and “Archive” features. After you complete this topic, you will be able to:
- Use the Save As functionality
- Archive a PSpice project
To follow along, continue working with the design completed in PSpice Walk-through 7 or open the provided board file in the folder directory, PSpice Walk-through 8_Save As and Archive.
If materials were not downloaded in the beginning of the walk-through, they can be accessed through the Materials tab above for this lesson.
 Open in New Window
Step 1: In the Project Hierarchy, select Design Resources.
Step 2: Select File > Save Project As from the menu.
Step 3: Browse and select a new Destination Directory.
Note: This cannot be within your old project folder.
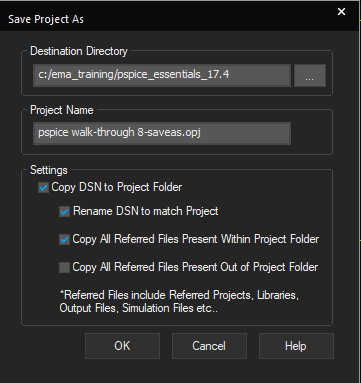
Step 4: Enter a Name for your project.
Note: The settings area of the dialog provides additional options: rename your DSN to match your project and to copy all referred files that are either within or out of the project folder.
Step 5: Select OK.
Note: Creating a new project enables you to preserve the original project while you continue to update your new project.
Step 6: Select File > Archive Project from the menu.
Note: This selection compresses all the PSpice files into one convenient zip file. This enables you to easily share your schematics and simulation files with colleagues.
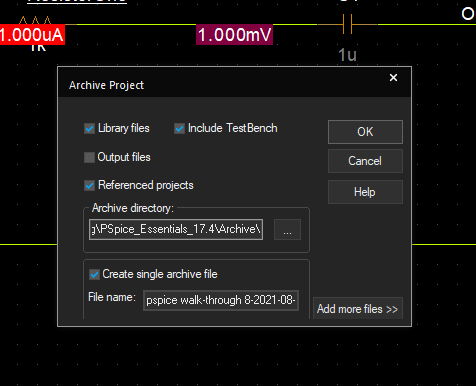
Step 7: Use the check boxes presented in this dialog to select the type of files you want to include in your zip file.
Step 8: Browse to select a directory location where you want to archive the zip file.
Step 9: Select OK.