Capture Walk-through 10: Bill of Materials
This walk-through demonstrates how to create a Bill of Materials (BOM) for project parts. After you complete this topic, you will be able to:
- Create a custom BOM
- Open the BOM in Excel
To follow along with this tutorial, continue with your design from Capture Walk-through 9 or use the included design file, CAPTURE TUTORIAL 10_BOM.DSN under the ‘materials’ tab.
 Open in New Window
- In the schematic, right click and select Selection Filter (CTRL-I).
- Select Clear All.
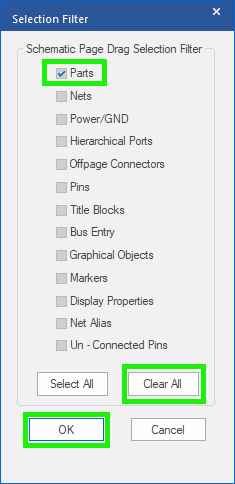
- Check the box next to Parts and click OK.
- Highlight the schematic.
Note: Only the parts will be selected in the schematic.
- Right click and Edit Properties.
Note: Fields have already been added for Manufacturer, Manufacturer Part Number, and Part Number. You can use CTRL+C and CTRL+V on the keyboard to copy and paste quickly in the properties window.
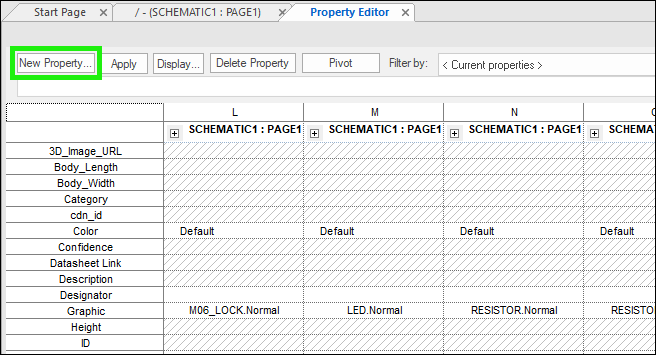
- Select the New Property button.
- Add a Vendor as the Name and click OK.
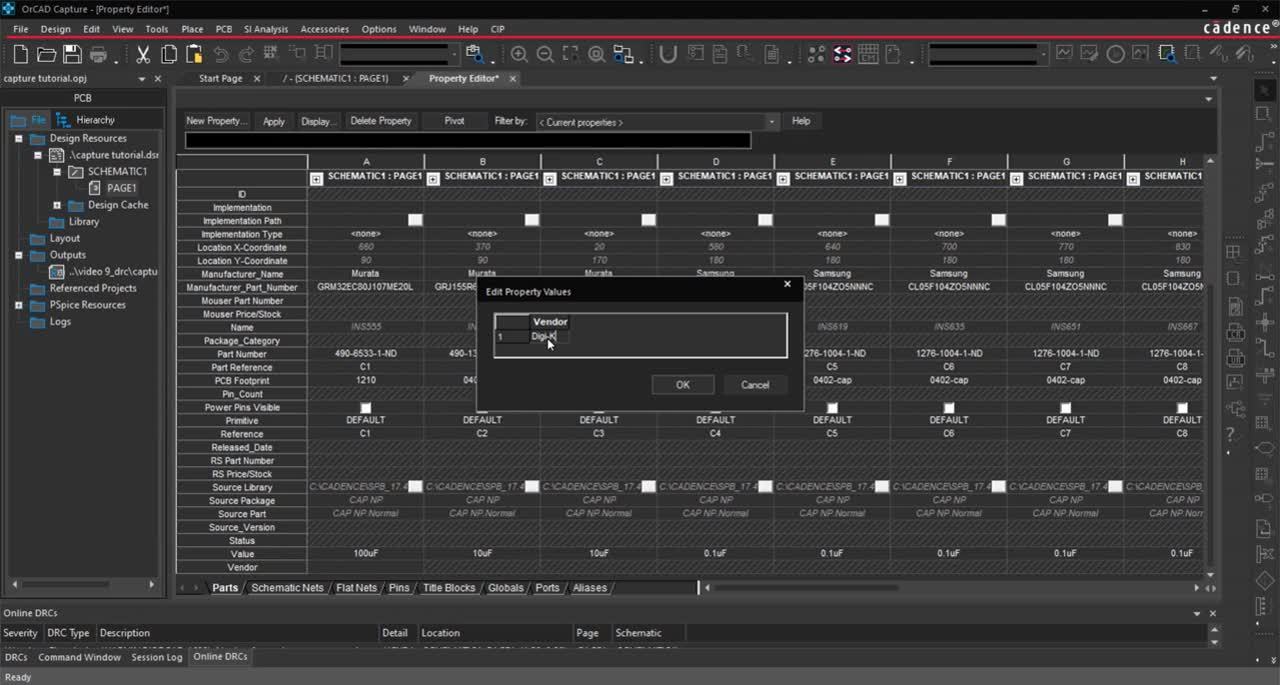
- Right click the Vendor row and select Edit.
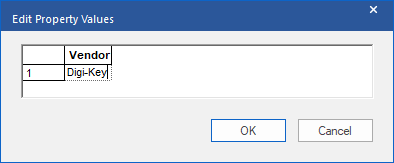
- Add Digi-key as the Vendor and click OK.
- Close the Property Editor window.
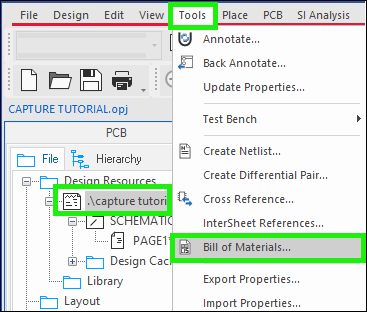
- With the design selected in the project hierarchy, select Tools > Bill of Materials from the menu.
- Use the Header and Combined Property text boxes to customize the Bill of Materials or copy and paste the following text strings:
Header: ItemtQuantitytReferencetParttVendortManufacturertManufacturer Part Number
Combined Property:
{Item}t{Quantity}t{Reference}t{Value}t{Vendor}t{Manufacturer_Name}t{Manufacturer_Part_Number}
Note: Make sure the text precisely matches the property fields added- included spaces and case.
- Select Open in Excel.
- Browse to a location to save the Bill of Material report.
- Click OK to generate the Bill of Materials.
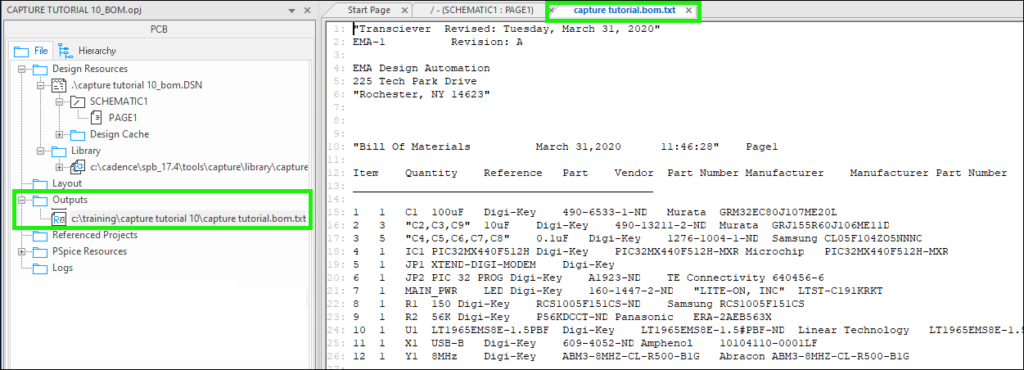
Note: You can also view the bill of materials by double clicking the report in the project directory outputs.