Capture Walk-through 5: Net Aliases
This walk-through demonstrates how to assign and edit net aliases. After you complete this topic, you will be able to:
- Place net aliases
- Add a new net alias to multiple nets and buses
To follow along with this tutorial, continue with the design you completed for Capture Walk-through 4 or use the included design file, CAPTURE TUTORIAL 5_NET ALIASES.DSN under the ‘materials’ tab.
 Open in New Window
Reference the provided Smart PDF, capture tutorial.pdf, to assist with net alias placement.
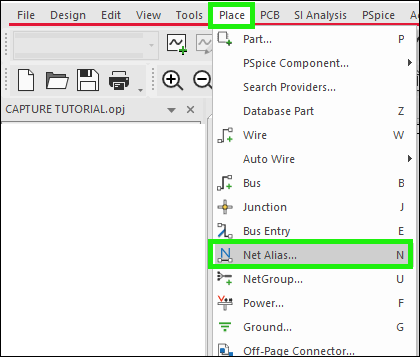
- Select Place > Net Alias from the menu (N).
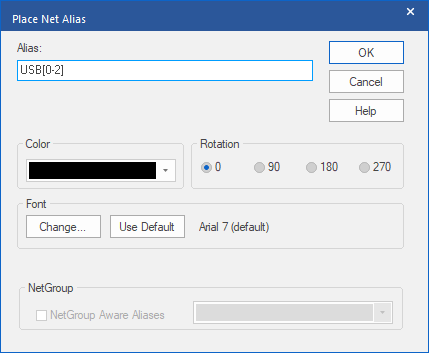
- Type the name and click OK.
- Click to place on every net with that net name.
Note: To rotate, use the R key on the keyboard.
- Right click and Edit Properties.
- Add the new net name and select OK.
Note: Net aliases for buses can be assigned in the same way.
- Place all aliases for nets and buses according to the provided Capture Tutorial.PDF.
- Right click and select End Mode (ESC).
Note: By adding the same net alias to multiple nets, you do not need to physically connect them in the schematic. If your net has a number at the end of the name, this will be incremented every time you place the net alias.