Lesson 3: Wiring and Net Aliases
This walk-through demonstrates how to connect and wire PSpice parts in version 22.1. After you complete this topic, you will be able to:
- Place wires manually
- Automatically wire connections
- Assign net names
To follow along, continue with the design from the previous topic or use the provided materials.
If materials were not downloaded at the beginning of the walk-through, files for this lesson can be accessed through the materials tab above.
 Open in New Window
Wiring the Schematic Manually
Step 1: Select Place > Wire from the menu, the Wire button from the toolbar, or press W on the keyboard.
Step 2: Click the base of Q1 to begin running a wire. Click the top terminal of R1 to finish.
Note: If you make a mistake, press Escape on the keyboard to finish routing. Select the wire and press Delete.
Step 3: Click the collector of Q1 and click the left terminal of R2 to finish.
Step 4: Route the connections between V1, the emitter of Q1, and ground in the same manner.
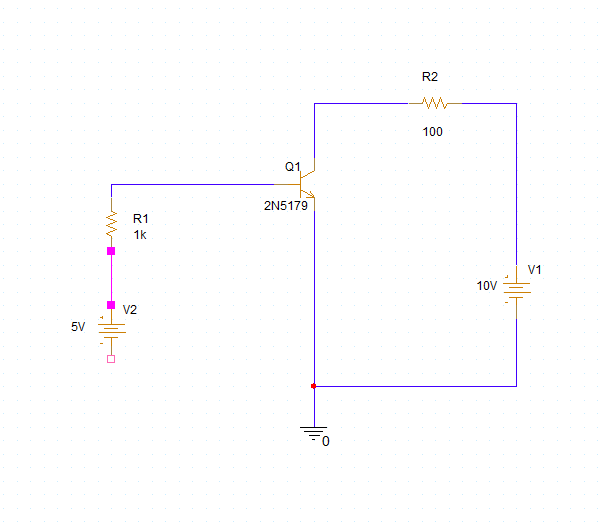
Step 5: Route the connection between R2 and V1 and R1 and V2 in the same manner.
Step 6: Right-click and select End Wire or press Escape on the keyboard when finished.
Wiring Connections Automatically
Step 7: Select Place > Auto Wire > Two Points from the menu.
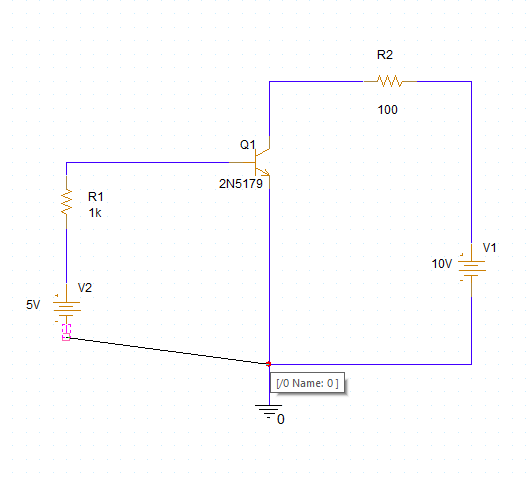
Step 8: Click the bottom terminal of V2. Move the cursor to the ground junction.
Note: A guideline will connect the intended pins.
Step 9: Click to automatically create a connection between V2 and ground. Right-click and select End Mode (Esc).
Placing Net Aliases
Step 10: Select Place > Net Alias from the menu, the Net Alias button on the toolbar, or press N on the keyboard.
Note: Using net aliases make it easier to understand simulation results.
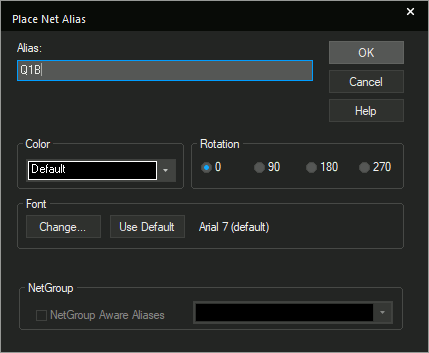
Step 11: Name the alias Q1B and click OK.
Step 12: Click to place the alias on the base of Q1.
Step 13: Right-click and select Edit Properties or press N again on the keyboard.
Step 14: Name the alias OUT and click OK.
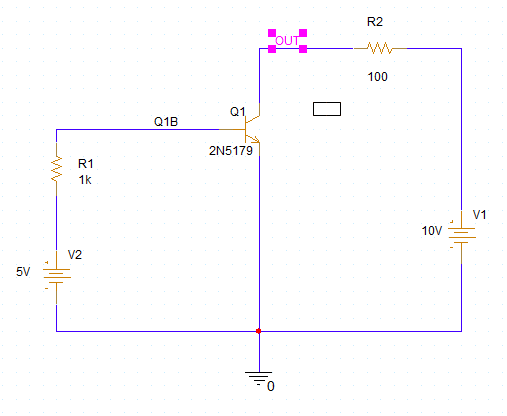
Step 15: Click to place the alias between the collector of Q1 and the left terminal of R2.
Step 16: Right-click and select End Mode (Esc).