Capture Walk-through 1: Starting a Schematic
This walk-through introduces you to OrCAD Capture 17.4 and demonstrates how to create a new schematic project. After you complete this topic, you will be able to:
- Open Capture 17.4 and create a new project
- Edit design, template, and title block preferences
- Add a new library file to your project
 Open in New Window
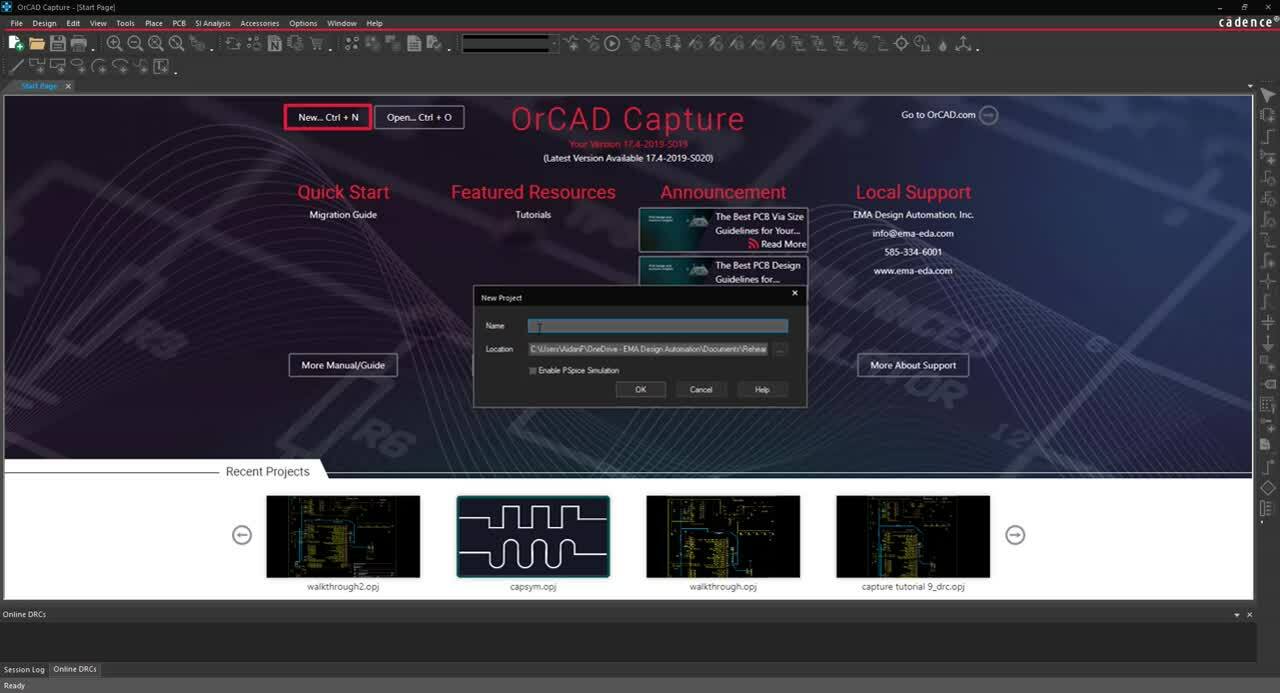
- Open OrCAD Capture.
Note: You can locate your OrCAD software by going to the Start Menu > Cadence PCB 17.4-2019 > Capture CIS 17.4.
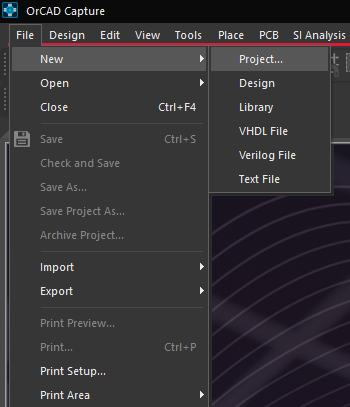
- Select File > New > Project from the menu or click on New Project in the Start page.
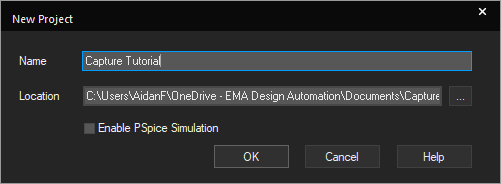
- Add a Name (Capture Tutorial) for your project.
- Click the Ellipsis button to browse for the location to save. Click OK.
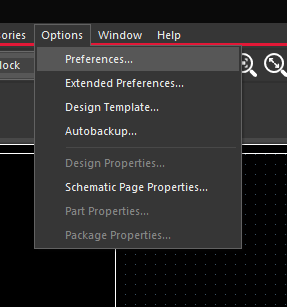
- Select Options > Preferences from the menu.
Note: In the preference dialog window, you can modify settings for colors, grid, pan and zoom, text, and other miscellaneous settings.

Here you have the ability to configure a light or dark color scheme for the application and canvas. Changes to the application theme will be applied after restarting Capture.
- Close the Preferences Window.
- Select Options > Design Template from the menu.
Note: The Design Template window, you can select page size, grid reference, and enter title block information.
- Select the Title Block tab.
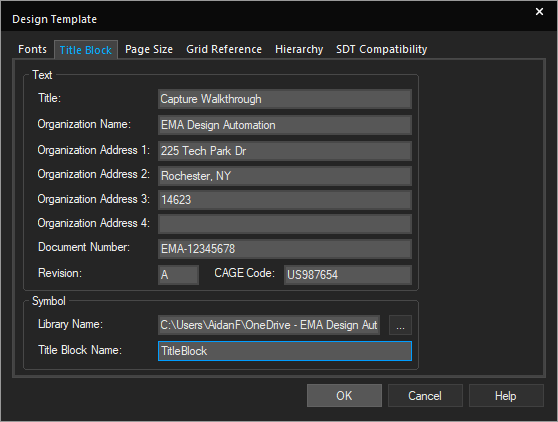
- Add the required information and set TitleBlock as the Title Block Name.
Note: Adding this information here will automatically populate the title blocks on any new pages.
- Click OK to close the Design Template Window.
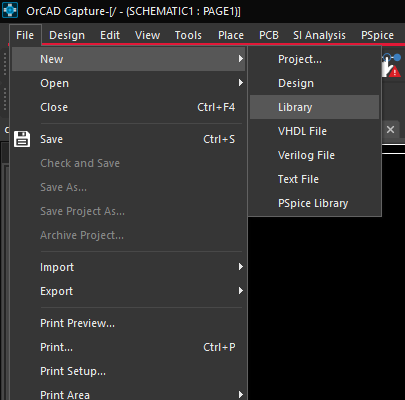
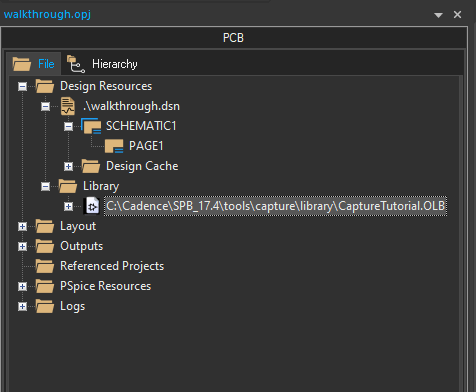
- Select File > New > Library from the menu.
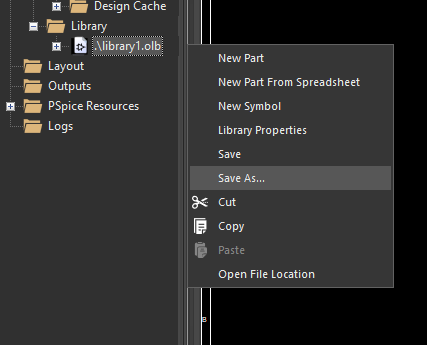
- Right click on the library and select Save As.
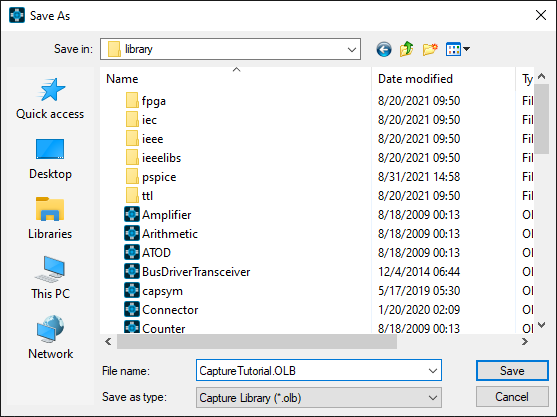
- Browse to the standard path for symbol libraries (C:\Cadence\SPB_17.4\tools\capture\library) and save the library as CaptureTutorial.OLB.