Capture Walk-through 7: Annotating
This walk-through demonstrates how you can annotate your design. After you complete the topic, you will be able to:
- Edit reference designator text
- Automatically update schematic annotation
To follow along with this tutorial, continue with your design from Capture Walk-through 6 or use the included design file, CAPTURE TUTORIAL 7_ANNOTATING.DSN under the ‘materials’ tab.
 Open in New Window
- Double click on the D? text of the LED component.
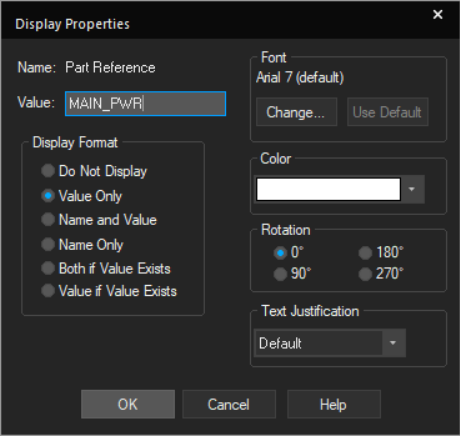
- Change the value to MAIN_PWR and click OK.

- Double click on the IC? text associated with component LT1965EMS8E-1.5PBF.
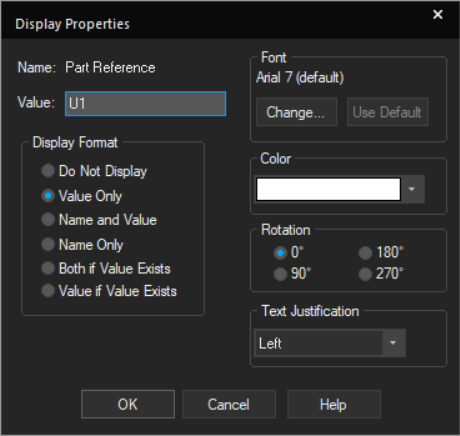
- Change the value to U1 and click OK.
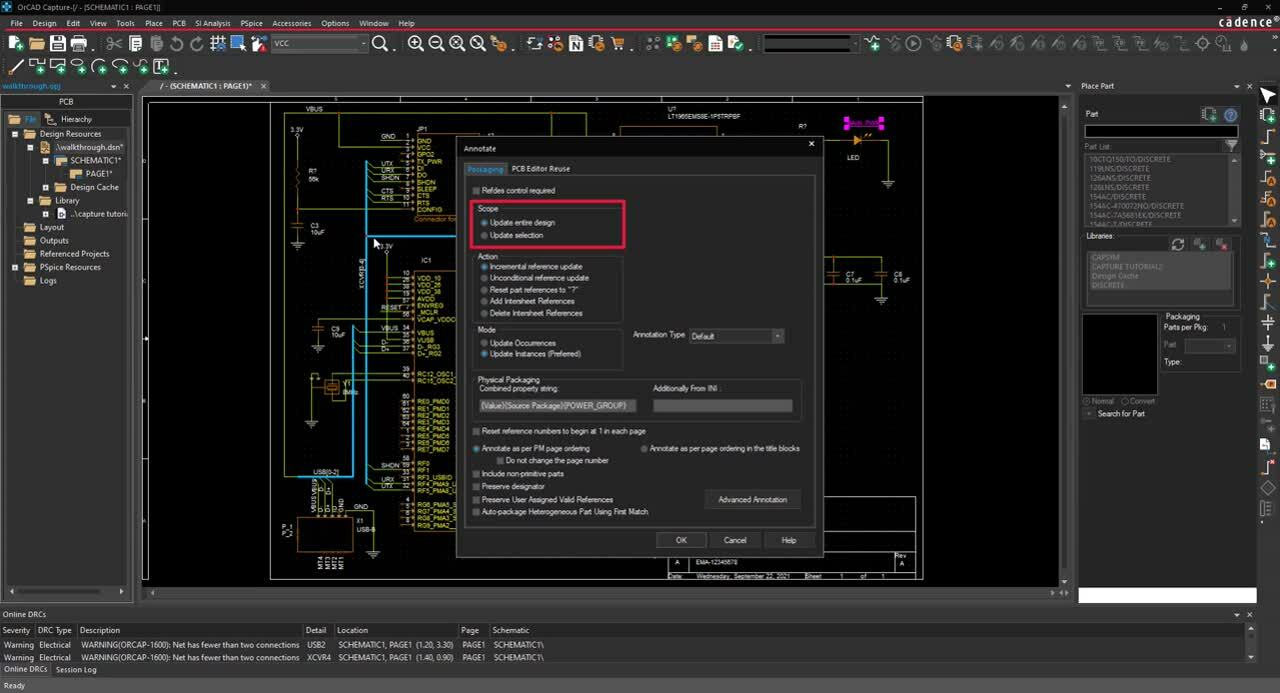
- In the project hierarchy, select the design file.
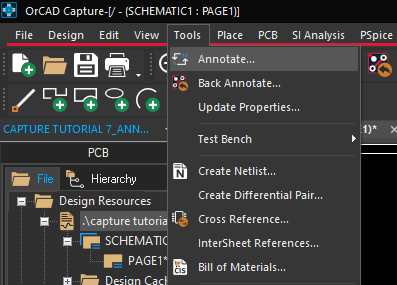
- Select Tools > Annotate from the menu.
Note: There are multiple options to annotate a selection or your entire design:
- Select Incremental reference update to annotate only components with question marks in the name.
- Select the Unconditional reference update to re-annotates all components. Use this option if it is specific names are not required for components.
- Select Reset part references to “?” to reset all reference designators to question marks.
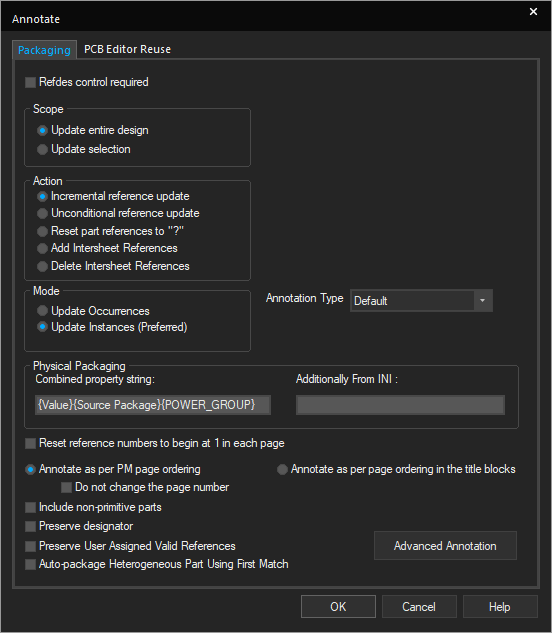
- Select Update Entire Design and Incremental reference update.
- Click OK.