Lesson 2: Libraries
This walk-through introduces you to library management in OrCAD X Capture 25.1. OrCAD X Capture has multiple methods for library management to meet your specific needs including:
- Cloud-based library management through individual and team workspaces
- On-premise library management through CIS and CIP
- The ability to create and associate library files containing the parts needed for the design
 Open in New Window
1. Cloud-Based Library Management
OrCAD X provides the ability to manage libraries in the Cloud with Workspaces. Cloud-based library management allows individual users to access and manage libraries in the Cloud and easily add components from industry-leading vendors. Additionally, Cloud-based libraries enable teams to access centralized and verified data regardless of their physical location.
Step 1: Select Place > Component. This brings up the component explorer window allowing you to place parts and access libraries from a centralized location.
Step 2: View the Categories available. Here you have access to cloud-based individual and team Workspaces. Any configured team workspaces are identified with a folder icon containing a person, indicating the workspace is shared.
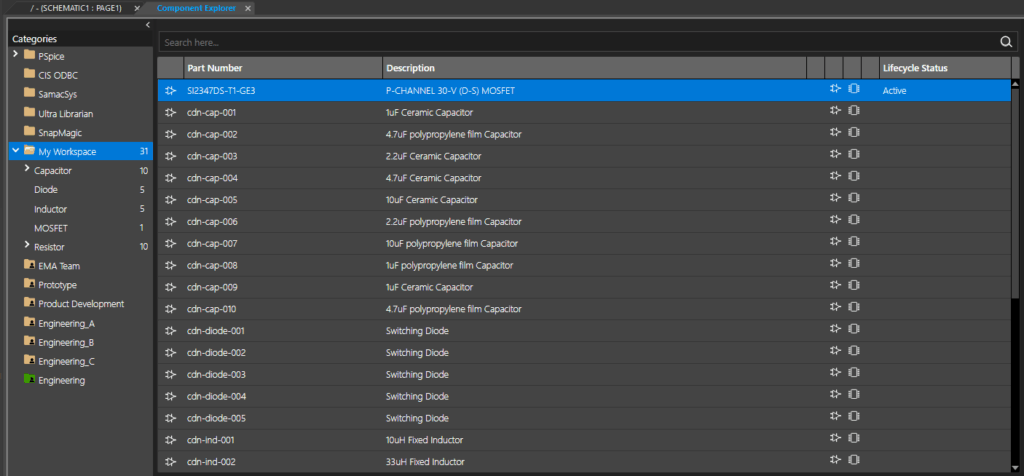
Step 3: Select My Workspace. This will provide access to components added to your individual cloud library. Components can be added to this workspace manually or from included providers such as Samacsys, Ultra Librarian, and/or SnapMagic.
Note: For more information on how to use the cloud-based library management for individual use and team-based collaboration, view the step-by-step instructions included in the optional lesson of this OrCAD X Capture Walk-through here.
2. On-Premise Library Management
With OrCAD X you have access to the Component Information System (CIS). CIS provides a link between OrCAD X Capture and your part database, allowing engineering teams to access the company component database directly within the schematic design environment. With CIS users can:
- Place parts from a verified database
- Search and browse your part database
- Quickly create zero-touch BOMs
- Validate components placed on the schematic are up-to-date with the database
- Define and manage variant components
Step 4: Select CIS ODCB. When CIS is configured, this activates the CIS Explorer window to search and place a database part.
Step 5: Close the CIS Explorer Window.
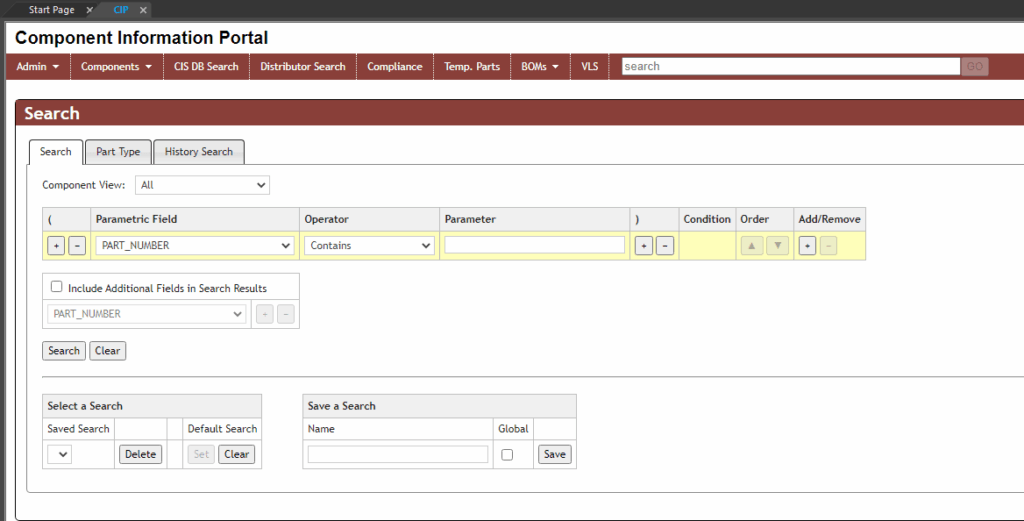
Note: CIS needs to be configured before use. This configuration as well as on-premise library management can be enhanced with the OrCAD Component Information Portal (CIP). This provides an easy-to-use interface to manage your component database, add and approve components, manage permissions, track a detailed history, and more. Learn more about CIP here.
3. Creating a New Library
A library can be created and associated with schematic projects containing all the parts used in the design. This can increase organization and ensure all parts remain associated with the schematic when there are multiple users or future modifications are required.
Step 6: Select File > New > Library from the menu.
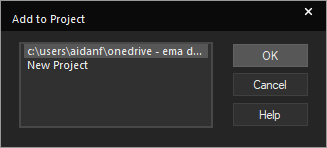
Note: If a prompt opens to add the library to the project or a new one, make sure the existing project is selected and click OK.
Step 7: The library will open in the Project Manager. Right-click it and select Save As.
Step 8: Browse to the standard library path, C:\Cadence\SPB_25.1\tools\capture\library. Save the library as CaptureTutorial.olb.
This completes the introduction to library management for the OrCAD X Capture Walk-through.
Optional topics are included in this lesson for configuring cloud workspaces and managing cloud libraries. Continue with these optional lessons or advance to lesson 3 where we will discuss how to create schematic symbols and library parts.
