Accurate symbols, footprints, and 3D models are required for PCB designs; however, manually creating and verifying all the necessary models can be tedious, time-consuming, and error prone. OrCAD X Capture provides a unified interface, allowing you to place from included libraries and shared libraries as well as direct placement of components from the extensive libraries of Ultra Librarian, SamacSys, and SnapEDA. You can use Unified Search in OrCAD X Capture for integrated access to:
- Verified symbols, footprints, and 3D models
- Real-time purchasing information
- Component parametric information
- Component datasheets
This quick how-to will provide step-by-step instructions on how to use Unified Search in OrCAD X Capture to place components.
To follow along, download the provided materials above the table of contents.
How-To Video
 Open in New Window
How to Use Unified Search in OrCAD X Capture
Step 1: Open the provided design in OrCAD X Capture.
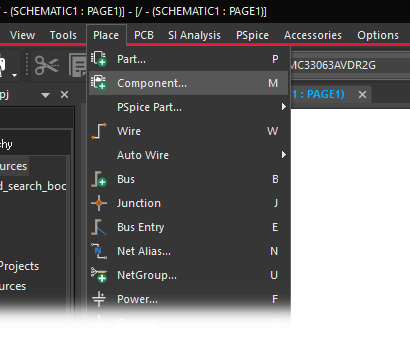
Step 2: Select Place > Component from the menu.
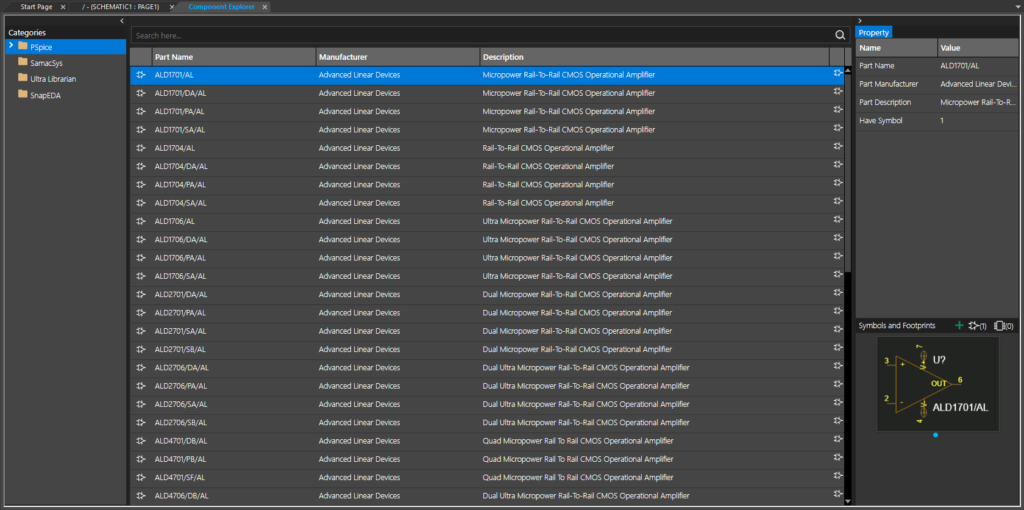
Step 3: The Component Explorer tab opens, integrating parts from Ultra Librarian, Samacsys, and SnapEDA as well as cloud workspaces and included PSpice libraries. Select Ultra Librarian from the Categories list on the left.
Step 4: Enter your Ultra Librarian credentials if prompted and click OK.
Step 5: Enter MC33063 into the search field and press Enter on the keyboard to search.
Note: This will search for all parts with MC33063 in the name.
Step 6: Select the first listing of MC33063ADR.
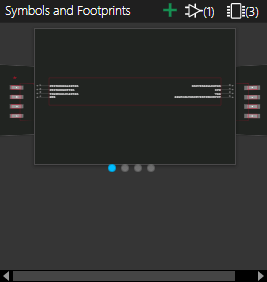
Step 7: View the part symbol and footprint under Symbols and Footprints in the Properties panel. Right-click the part listing and select Place.
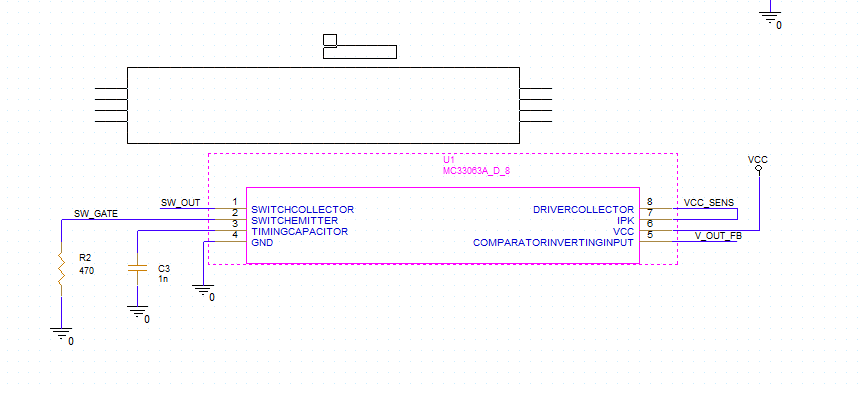
Step 8: Click to place the part in the empty space in the schematic. Right-click and select End Mode.
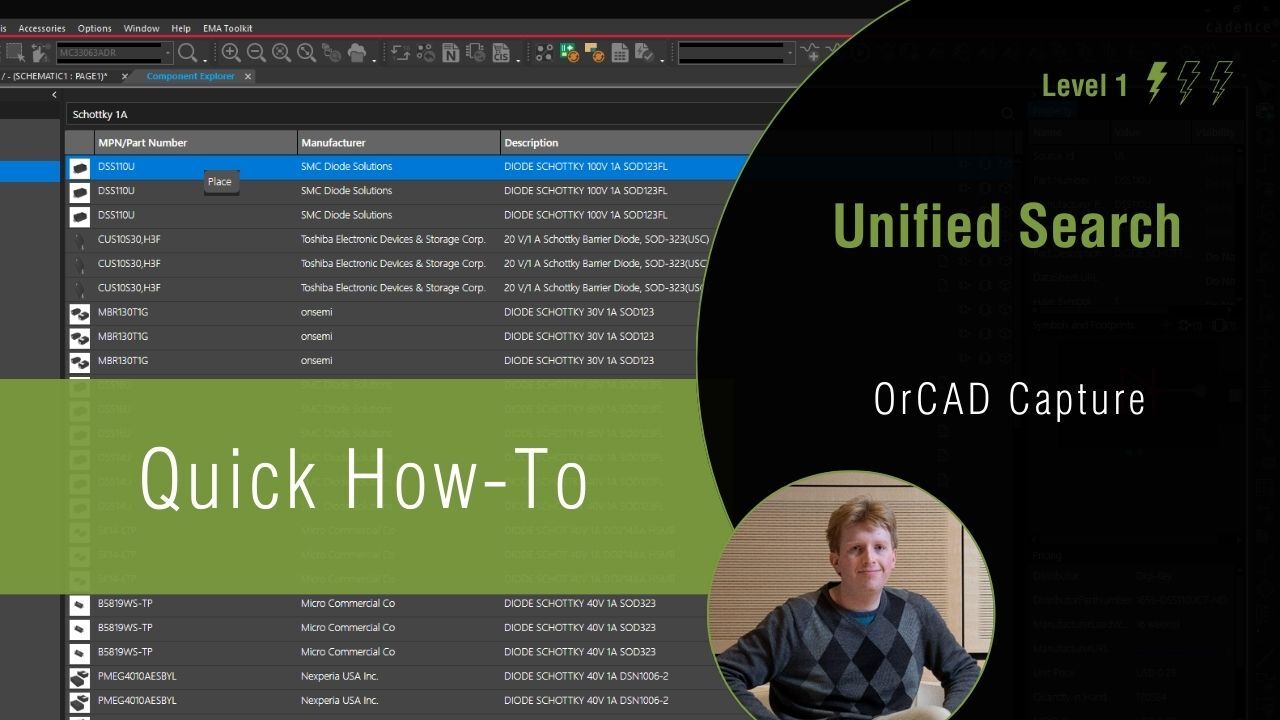
Searching Components by Description
Note: The Search field can also be used to search for keywords in the component’s description.
Step 9: Select the Component Explorer tab to reopen it.
Step 10: Enter Schottky 1A into the search field and press Enter.
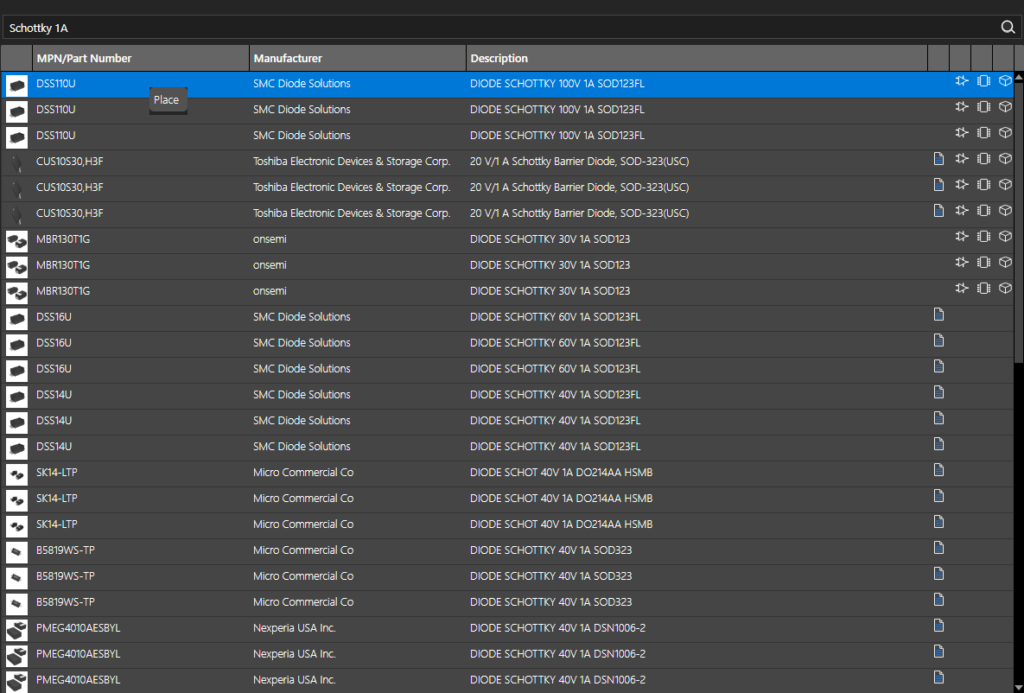
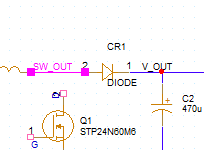
Step 11: All components with “Schottky” and “1A” in the description are listed. Select one of the DSS110U diodes. Right-click and select Place.
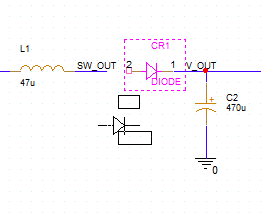
Step 12: Click to place the diode between the SW_OUT and V_OUT nets.
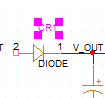
Step 13: Double-click the reference designator CR1 to change it.
Step 14: Enter D1 for the name and click OK.
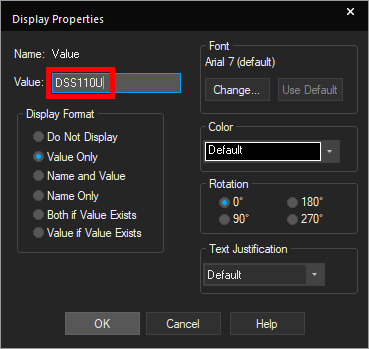
Step 15: Select the value DIODE to change it. Enter DSS110U and click OK.
Searching For Components in the Unified Search
Step 16: Select the Component Explorer tab to reopen the Unified Search.
Step 17: Select SamacSys from the Categories list to search for components from SamacSys.
Step 18: Enter N-Channel MOSFET into the Search field and press Enter.
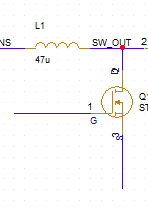
Step 19: Select STP24N60M6 from the list. Right-click and select Place.
Note: If this component is not listed, enter STP24N60M6 into the Search field and press Enter.
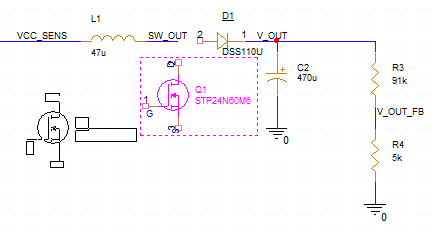
Step 20: Click to place the transistor such that the drain can connect to the SW_OUT net. Right-click and select End Mode.
Wiring Circuits in OrCAD Capture
Step 21: Select Place > Wire from the menu, the Wire button from the toolbar, or press W on the keyboard.
Step 22: Click to connect the diode’s anode to the SW_OUT net and the cathode to the V_OUT net.
Note: Depending on how the diode is placed, you may need to connect one or both nets.
Step 23: Click to connect the MOSFET drain to SW_OUT and draw stubs on the gate and source. Press Escape on the keyboard when finished.
Step 24: Select Place > Ground from the menu.
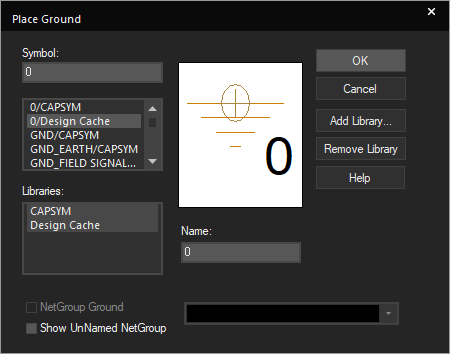
Step 25: The Place Ground window opens. Select 0/Design Cache from the symbol list and click OK.
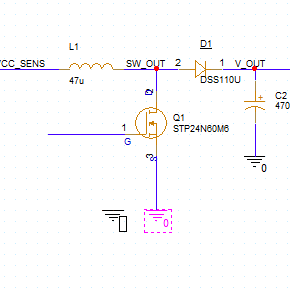
Step 26: Click to place the ground on the source stub. Right-click and select End Mode when finished.
Step 27: Select Place > Net Alias from the menu, the Net Alias button on the toolbar, or press N on the keyboard.
Step 28: Enter SW_GATE for the alias and click OK to place.
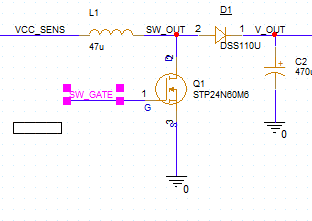
Step 29: Click to place the alias on the gate stub. Right-click and select End Mode when finished.
Note: The SW_GATE alias has already been placed on pin 2 of the IC. This will connect the gate of the MOSFET to this net electrically without placing a wire.
Wrap Up & Next Steps
Quickly and easily use Unified Search in OrCAD X Capture to place components from the extensive libraries of Ultra Librarian, SamacSys, and SnapEDA to expedite the PCB design process and ensure accurate symbols, footprints, and 3D models. Test out this feature and more with a free trial of OrCAD. Want to learn more about Capture? Get access to free how-tos, courses, and walk-throughs at EMA Academy.

