During the PCB design process, it is essential to perform reviews to ensure the design meets functional demands and project requirements. For many stakeholders, ECAD software may not be accessible and while PDFs and images can be used to review schematic designs, typically they do not provide dynamic interaction and intelligent design data. To ensure clear communication, a new web-based method to review schematic designs has been introduced in OrCAD X 25.1 enabling the ability to:
- Share schematic and PCB designs with stakeholders
- View a schematic or board file online from any computer
- Review schematic designs and embedded information
- Add comments and mark up
- Communicate and collaborate with team members in real-time
This quick how-to will provide step-by-step instructions on how to review schematic designs in your web browser with OrCAD X 25.1.
Note: An example design is provided above the table of contents for your convenience.
How-To Video
 Open in New Window
Adding the Design to a Workspace
Step 1: A design must be part of an OrCAD X workspace to be viewed in the web-based dashboard. To load the desired design into a workspace, open it in OrCAD X Capture.
Step 2: Right-click the design file in the Project Manager and select Add to Workspace.
Note: Designs can also be added to a shared workspace for efficient collaboration with team members. Access step-by-step instructions for file management here. To create a shared workspace, advanced cloud capabilities are needed. Once a workspace is created, it can be shared with additional users who can participate and manage content in the workspace as needed, including publishing and editing designs. If you do not see the ability to share workspaces and would like to, contact us here.
Step 3: To confirm the add, select View > Workspace > File Manager from the menu or the File Manager icon from the toolbar.
Note: If prompted, log in with your Cadence username and password.
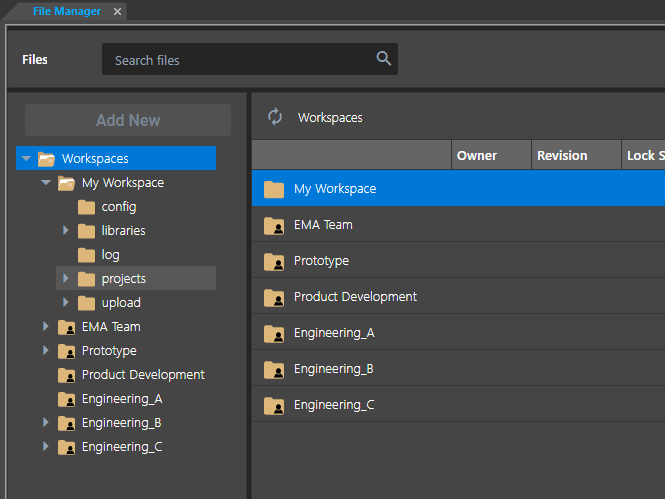
Step 4: The File Manager tab opens to show a list of available workspaces. Expand Workspaces > My Workspace and select the Projects folder to view the newly-added project folder.
Step 5: Double-click the folder to open and view its contents. The project has been added.
Step 6: Close the project and the File Manager tab. Minimize OrCAD X Capture.
Accessing Web-Based Design Review for OrCAD X
Step 7: Open a Web browser and navigate to https://pcb.cadence.com/dashboard.
Step 8: Enter your Cadence username and password and select Sign In.
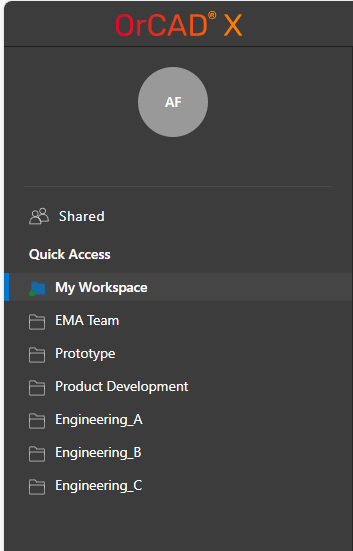
Step 9: The OrCAD X page opens showing a list of workspaces you have access to. From here, you can also view projects in shared workspaces. Select My Workspace under Quick Access.
Step 10: Double-click the Projects folder to open it. The added project is listed as another folder. Double-click the folder to open it.
Sharing a Design for Web-Based Review with OrCAD X
Step 11: To share a design from a workspace with another Cadence user, select the ellipsis for the OPJ file and choose Share.
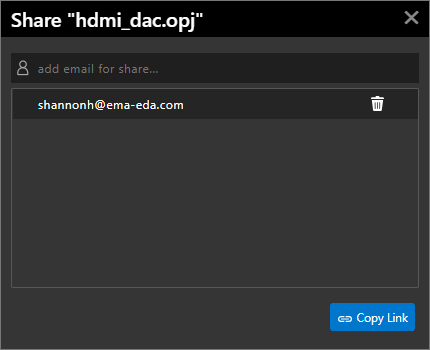
Step 12: Enter the user’s email into the top field and press Enter. The email is added to the list.
Step 13: Select Copy Link. A link to the design is copied to your clipboard and can be sent to the desired stakeholders. Share this link with stakeholders. They will be prompted to log in with their Cadense username and password then be brought to the schematic for efficient access.
Web-Based Design Review for OrCAD X: Review Schematic Designs
Step 14: Double-click the OPJ file associated with your project to open and view it.
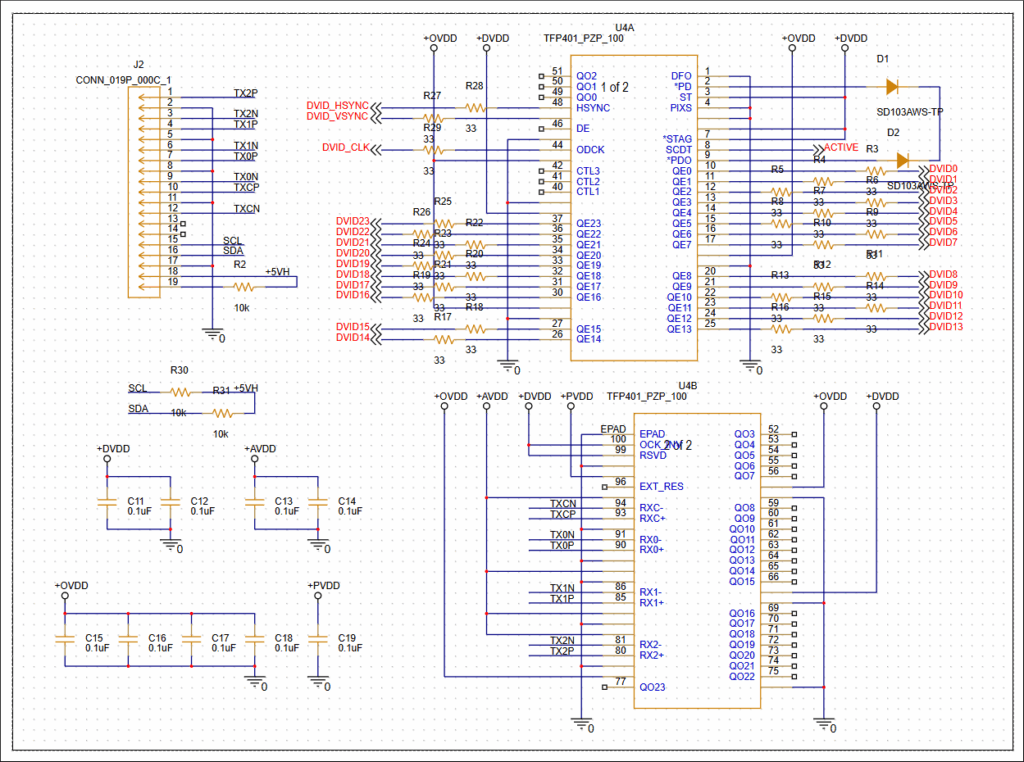
Step 15: The schematic canvas opens. Click and drag the middle mouse button to pan the view. Scroll the mouse wheel to move up and down, hold Shift on the keyboard and scroll the mouse wheel to move left or right, and hold CTRL on the keyboard and scroll the mouse wheel to zoom in and out.
Step 16: If your schematic has multiple pages, select the desired page from the Design Resources tree to the left of the canvas.
Step 17: If the design is hierarchical, double click a hierarchical block to descend the hierarchy.
Web-Based Design Review for OrCAD X: Reviewing Design Information
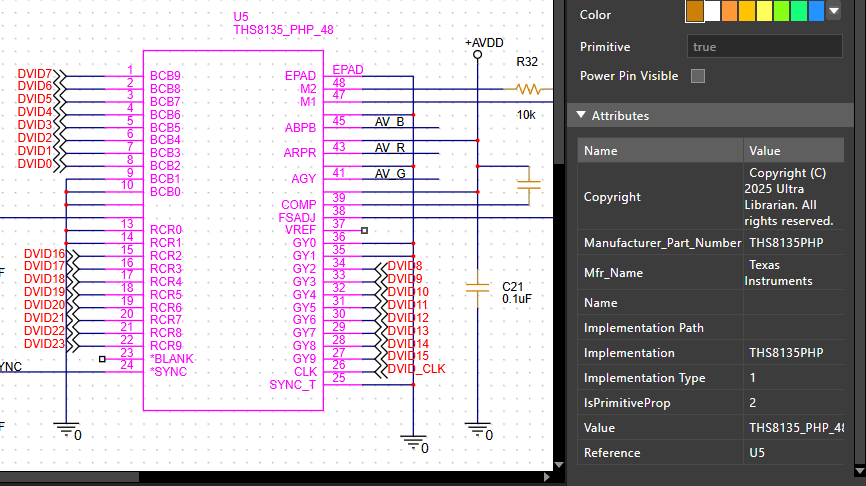
Step 18: To view information about a part, click the part on the canvas. The Properties panel is populated with information about the part including its name, manufacturer, reference designator, and footprint.
Step 19: Select an aliased net on the canvas. All wires on the associated net on the page are highlighted and the Properties panel populates with information about the net.
Note: Properties can also be viewed for component pins and other objects on the board.
Web-Based Design Review for OrCAD X: Comments and Markup
Comments can be added in the web-viewer and communicated in real-time with the schematic in OrCAD X. This can be used to streamline collaboration and clearly communicate feedback during design reviews from all stakeholders.
Step 20: Select Toggle Markup Visibility in the dashboard.

Step 21: The Markup panel opens. Select New Comment to create a new comment.
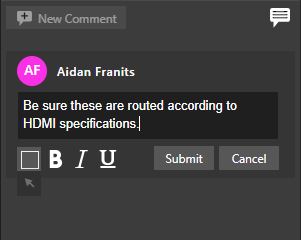
Step 22: Enter the desired comment into the text field under your name.
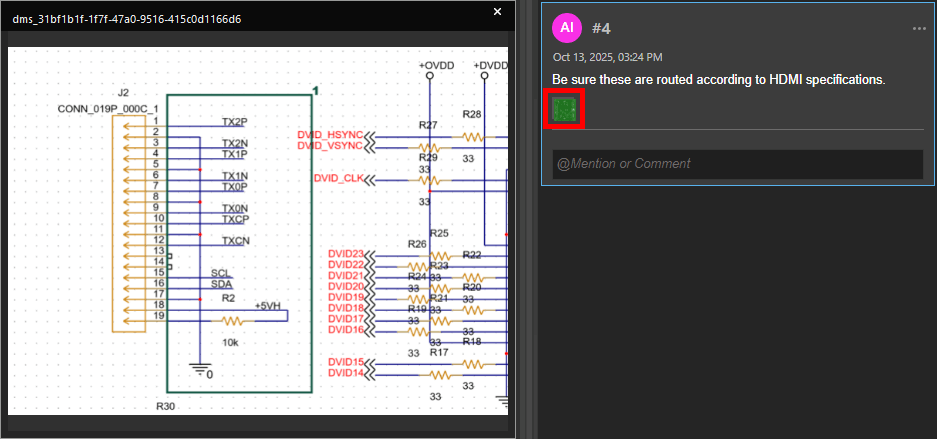
Step 23: Zoom into the area of the schematic to view when the comment is highlighted. Select Draw Rectangle to highlight the desired area.
Step 24: Click and drag to draw a rectangle around it to indicate the highlight location. The rectangle is shown with a number sign.
Step 25: Click Submit. The number sign is replaced with a number, indicating that the comment was posted successfully.
Step 26: Click Close to close the schematic file.
Viewing Markup in OrCAD X Capture
Step 27: Markup can be viewed and appended to in OrCAD X Capture. Re-open Capture and select the File Manager button.
Step 28: Navigate back to the My Workspace > Projects folder and double-click the project.
Step 29: Double-click the project file to open it in OrCAD X Capture.
Step 30: Select Tools > Markup from the menu.

Step 31: The comment is visible in the list and on the schematic canvas. Select the comment to be brought to its location in the canvas.
Step 32: Select Show Design Snapshot to view where the view was when the comment was created.
Step 33: Modify the schematic as needed and resolve the comments.
Wrap Up & Next Steps
Quickly and easily review schematic designs in your web browser for efficient design reviews and streamlined collaboration with no software installations necessary with the OrCAD X web viewer. Access the full capabilities of OrCAD X to streamline the design process even further with a free trial.

