The first step in documenting a schematic design is to place the required components. Each engineer manually creating and verifying every model can be tedious, time-consuming, and error-prone. As a solution, engineering groups can leverage a centralized component database, so all users can place known-good components without leaving their ECAD design environment. Component Information Portal (CIP) can be used to seamlessly place parts from your component database in your schematic to ensure the accuracy of parts and models.
This quick how-to will provide step-by-step instructions on how to place database components with CIP.
How-To Video
 Open in New Window
Accessing Your Component Database with CIP
The parts used in this how-to come from the starter CIP library. To learn how to import the starter library, see our how-to here.
Step 1: With a design open in OrCAD X Capture CIS, select CIP > Open CIP from the menu to access your component database with CIP.
Step 2: Enter your username and password. CIP opens to the CIS Database Search panel.
Place Parts from your Component Database: Parametric Search
In CIP, the desired components can be found through several methods, including a parametric search of your component database.

Step 3: Under Search Parameters, select Manufacturer PN from the Parametric Field dropdown.
Step 4: Select Contains from the Operator dropdown.
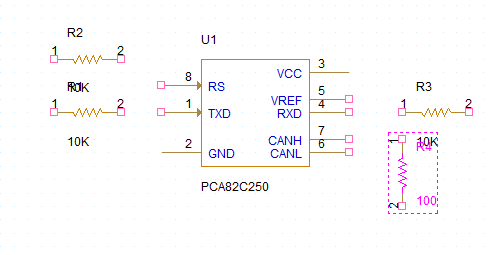
Step 5: Enter PCA82C250 into the Parameter field.

Step 6: Click Search to run the parametric search.
Step 7: One match is listed. Select Place to attach the component to your cursor.
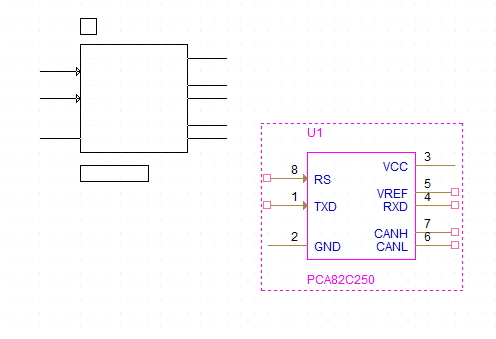
Step 8: Click to place the IC in the canvas. Right-click and select End Mode.
Place Parts from your Component Database: Browsing
Components can also be placed by searching or browsing component categories from the database hierarchy provided in CIP.
Step 9: Select the CIP tab to reopen CIP.
Step 10: Select Search > Part Type from the CIP menu sidebar.
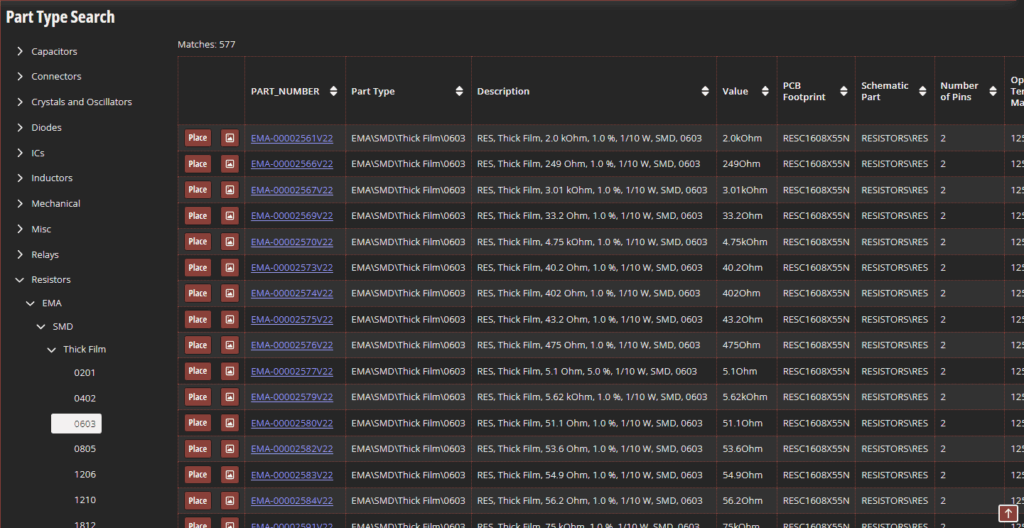
Step 11: The Part Type Search window opens, showing a list of part categories available. Expand Resistors > EMA > SMD > Thick Film > 0603.
Step 12: Select the up arrow for Value to sort the resistors by value, ascending.
Step 13: Scroll down to a 10kΩ resistor and select Place.
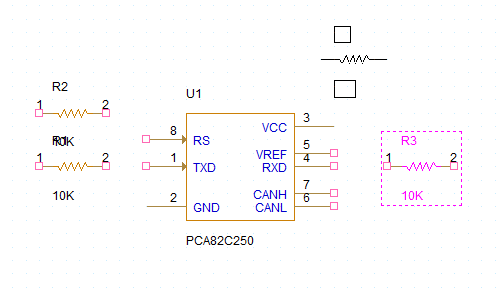
Step 14: Click to place three resistors in the canvas. Right-click and select End Mode.
Step 15: Select the CIP tab.
Step 16: Scroll to a 100Ω resistor. Click the company part number to view part details before placement.
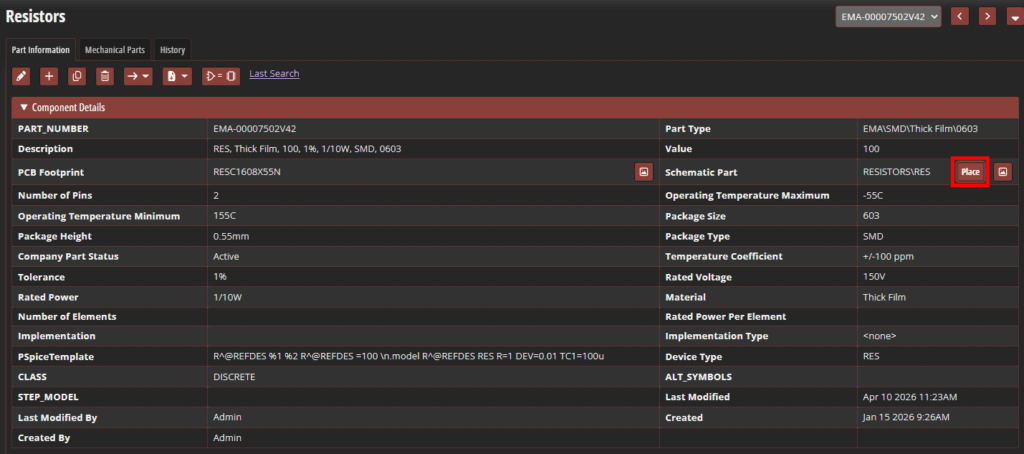
Step 17: View the part details. Select Place in the Schematic Part cell to place the part.
Step 18: Click to place the part in the canvas. Right-click and select End Mode.
Wrap Up & Next Steps
Quickly and easily place parts from your component database to ensure parts are company-approved, validated, and accurate with CIP. Get more step-by-step instructions for CIP at EMA Academy.

