Manually compiling the required information to purchase the components in a PCB design can be time-consuming and prone to human error. Bill of Materials (BOMs) can be created quickly through OrCAD Capture CIS; however, the generic BOM output may not meet company requirements. With the CIS Template Based BOM App, designers can utilize custom excel templates including company logos and information to create a BOM.
This how-to will provide step-by-step instructions on how to use the CIS Template Based BOM App in OrCAD Capture CIS to create a BOM using an excel template.
How-To Video
Activating the BOM Template App
Step 1: Open the desired design in OrCAD Capture CIS and select the .dsn file in the project hierarchy.
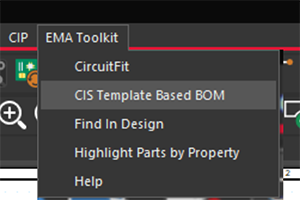
Step 2: Select EMA Toolkit > CIS Template Based BOM from the menu.
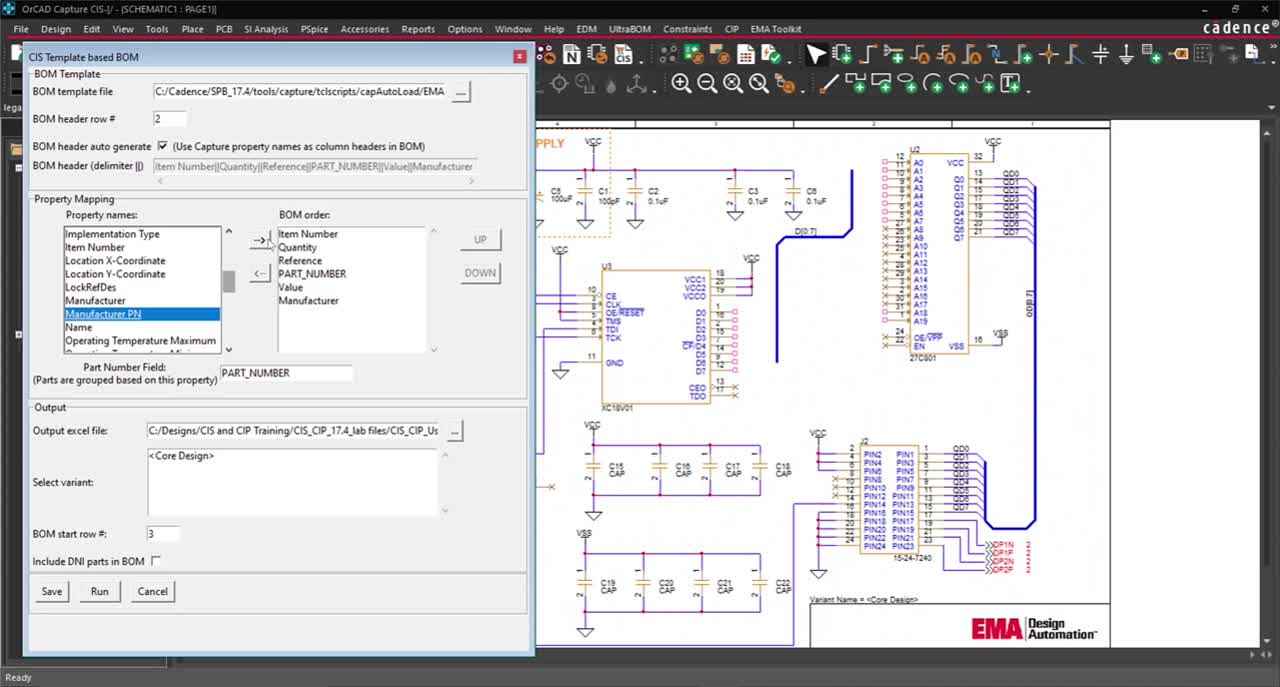
Step 3: Browse to the location of the desired Excel template and select Open. For this example, use the default template included in the installation here:
C:/Cadence/SPB_17.4/tools/capture/tclscripts/capAutoLoad/EMA_ToolKit/CISTemplateBOM/EMACisBOM/bomconfig/EMABOM_Template.xlsx.
Note: You can create a template containing company logos, graphics, or other data you wish to populate for all your BOMs. Remember to change the BOM Header Row # and BOM Start row # when creating a new template.
Configuring the BOM Template App
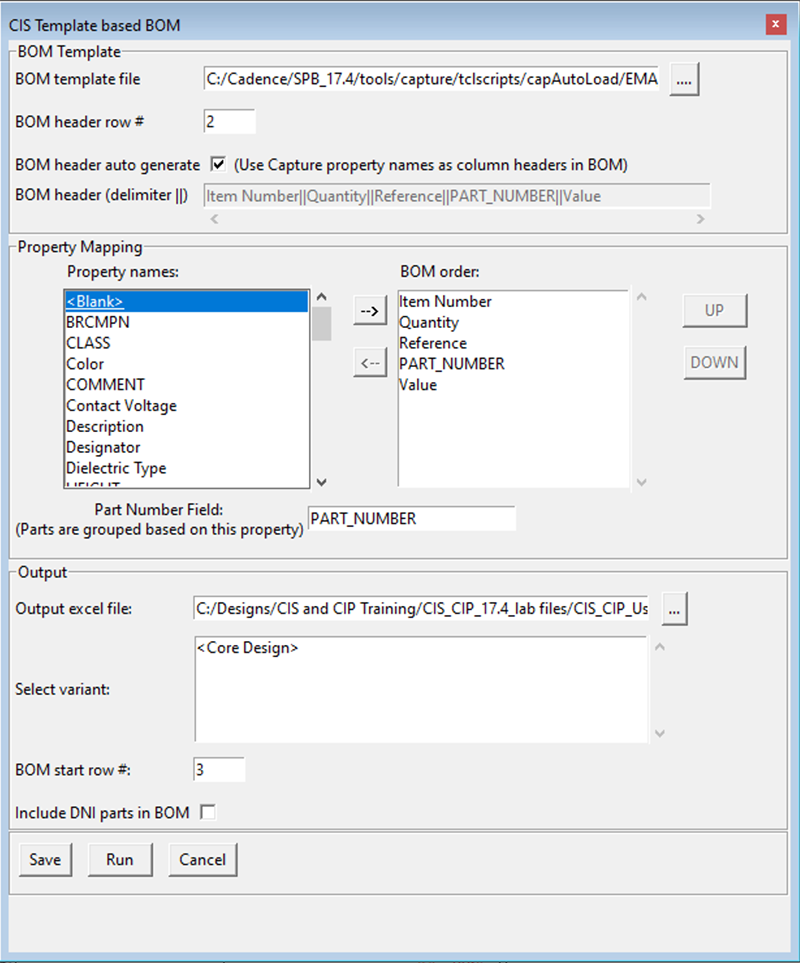
Step 4: Enter 2 as the row number for the column headings to appear on.
Step 5: Check to have the BOM header automatically generated based on the capture properties.
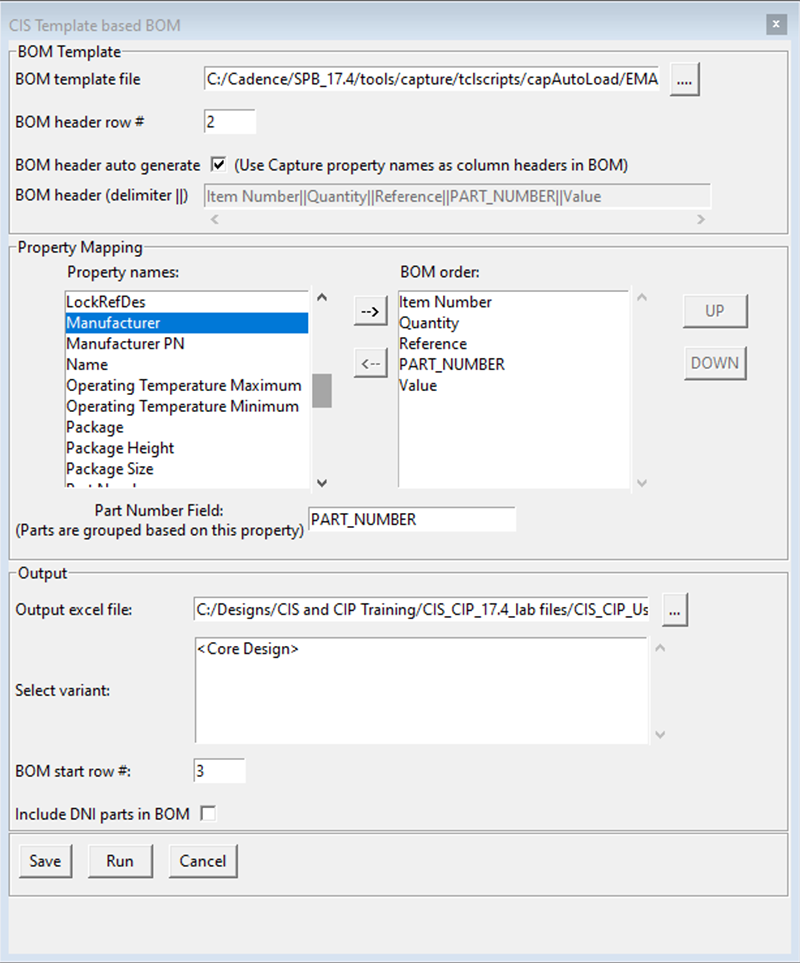
Step 6: Configure the properties to be included in the BOM. Select Manufacturer from property names list and click → to include the property in the BOM.
Step 7: Select Manufacturer PN from the property names list and click → to include the property in the BOM.
Note: Arrange the BOM order by selecting the property and using the up and down buttons. To remove a property from the BOM, select a property and click the ← button.
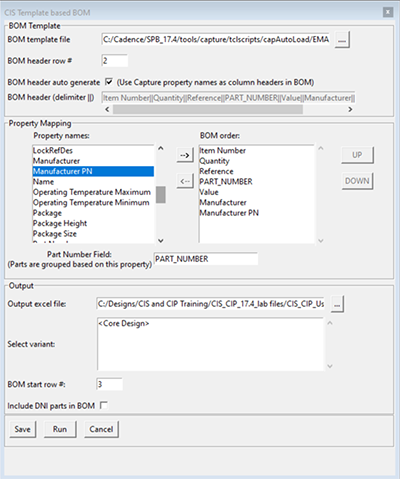
Step 8: Ensure PART_NUMBER is entered in the Part Number Field.
Step 9: Browse to the location for the outputted BOM to be saved.
Note: If the design has a variant, select the desired variant.
Step 10: Enter 3 as the row number for the BOM information to start.
Note: Check to include Do Not Include (DNI) parts in the BOM.
Generate a BOM from a Template
Step 11: Select Run and click OK when BOM generation is completed.
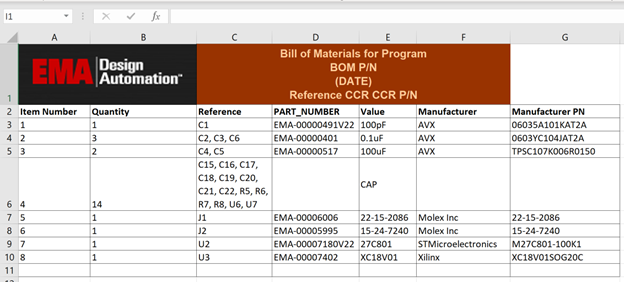
Step 12: View the generated Bill of Materials.
Wrap Up & Next Steps
Easily export a bill of materials which adheres to company standards using Excel templates and the CIS Template Based BOM App. This app and others are part of the EMA Toolkit, one of the benefits of EMA Support +. The EMA Support + program is available to all EMA customers on active support and includes additional benefits and tools to expedite the PCB design process, such as time saving apps, additional training, and more. See what’s included with EMA Support + and learn how to get access to these exclusive benefits

