Most boards are created based on the dimensions provided by the mechanical engineering team to ensure proper fit within the mechanical housing and a successful final assembly. Ensuring components fit within the designated enclosure is critical to first-pass success but manual methods for file sharing and communication can be error-prone. Achieve effective collaboration between the MCAD and ECAD teams and seamlessly collaborate between Solidworks and OrCAD X or Allegro X with MCADx.
This quick how-to will provide step-by-step instructions on how to export a board into Solidworks from Allegro X with MCADx.
How-To Video
 Open in New Window
Viewing the 3D Board
Step 1: Open the desired completed design in Allegro X Artist.
Note: MCADx is compatible with any version or OrCAD X or Allegro X.
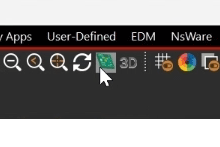
Step 2: Select the 3D icon from the toolbar.
Step 3: The 3D Canvas Filter window opens. Leave the default settings and click OK.
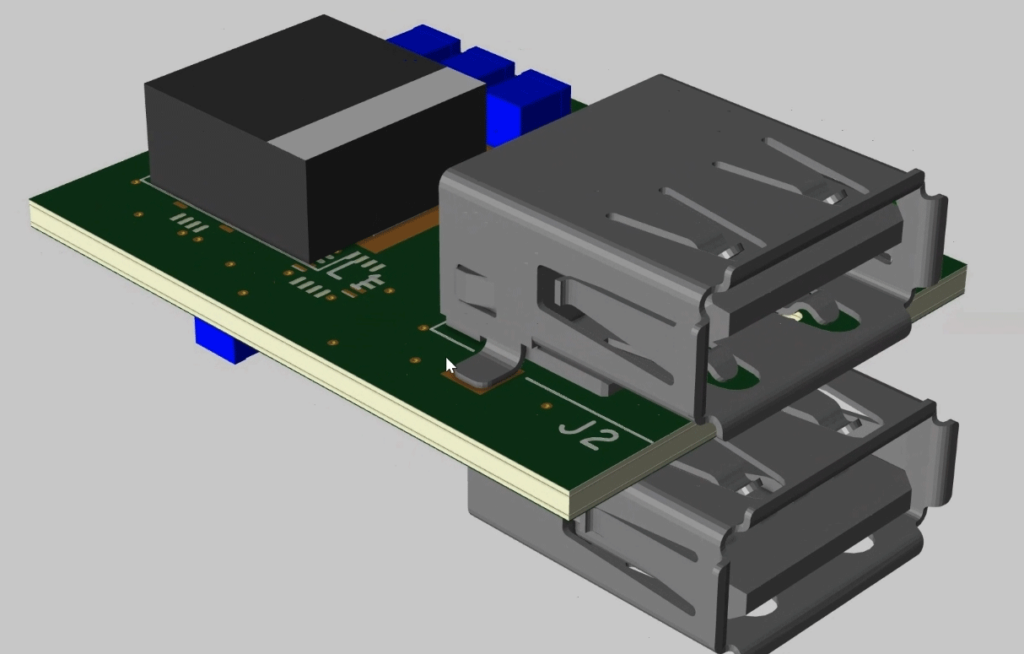
Step 4: The 3D canvas opens. Confirm that all 3D models are mapped and rendered properly.
Note: Use the middle mouse button to pan the view. Hold Shift with the middle mouse button to rotate the view.
Step 5: Close the 3D canvas.
Exporting a Board with MCADx
Step 6: Select File > Export > MCADX from the menu.
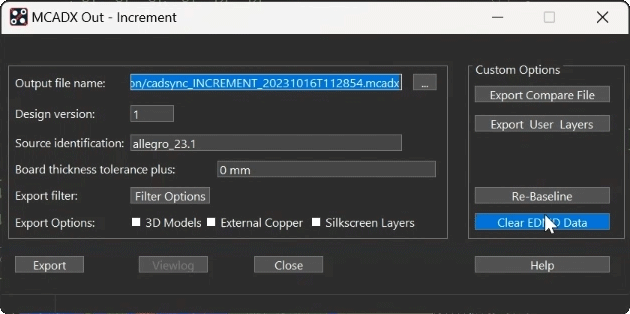
Step 7: The MCADX Out window opens. Select Clear EDMD Data to remove information such as bend properties.
Step 8: Click Yes when prompted to clear the data.
Step 9: Select Filter Options to exclude the keepout and keepin data from the output.
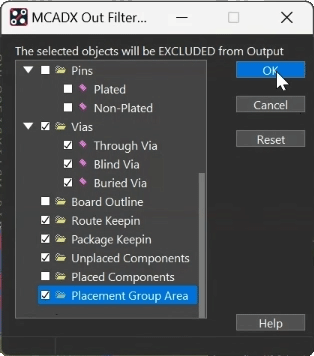
Step 10: Exclude the following items by checking them:
- Package Keepout
- Route Keepout
- Via Keepout
- Vias
- Route Keepin
- Package Keepin
- Placement Group Area
Step 11: Click OK.
Step 12: Under Export Options, check the option for 3D Models.
Note: Options for External Copper and Silkscreen Layers are also available.
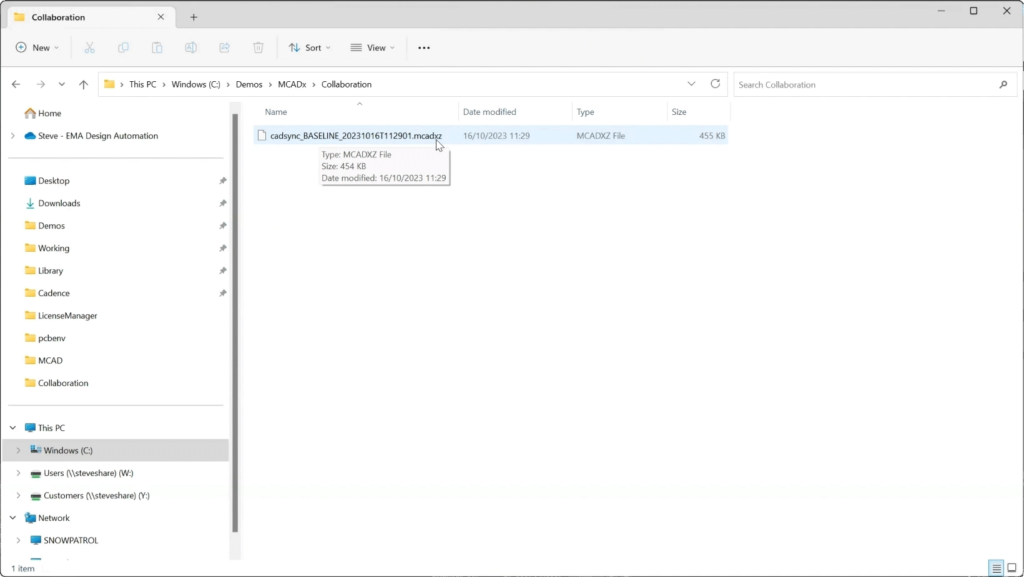
Step 13: Select Export. An MCADXZ file is generated in the specified directory.
Importing into Solidworks with MCADx
Step 14: Open Solidworks to import the MCADx file.
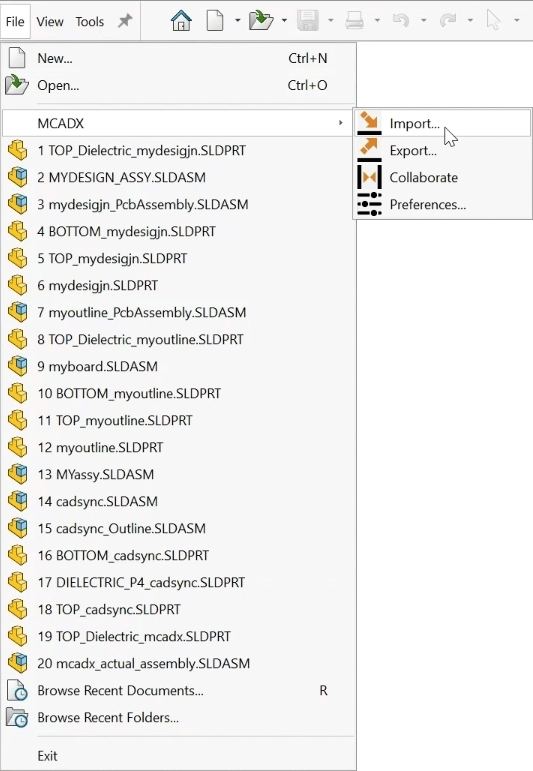
Step 15: Select File > MCADX > Import from the menu.
Step 16: Select the generated file and click Open.
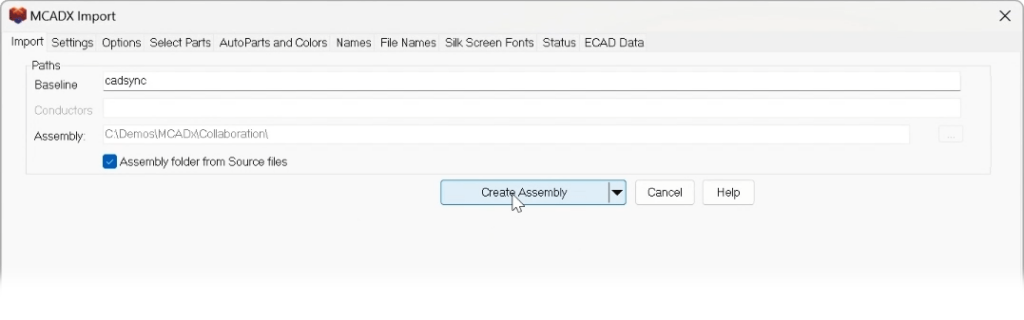
Step 17: The MCADX Import window opens. Leave the settings as the defaults and click Create Assembly.
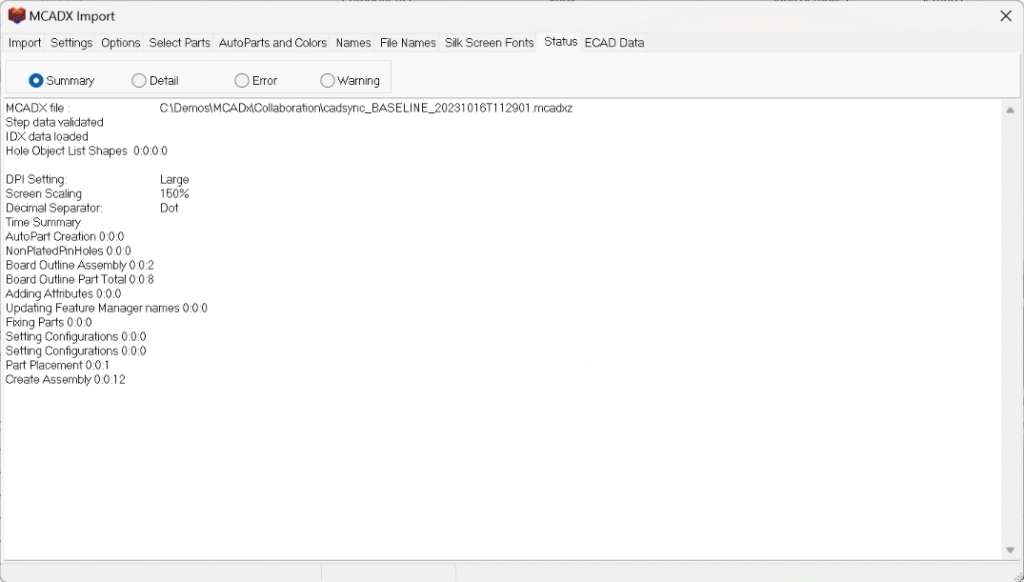
Step 18: A log window opens when import is complete. View and close the window.
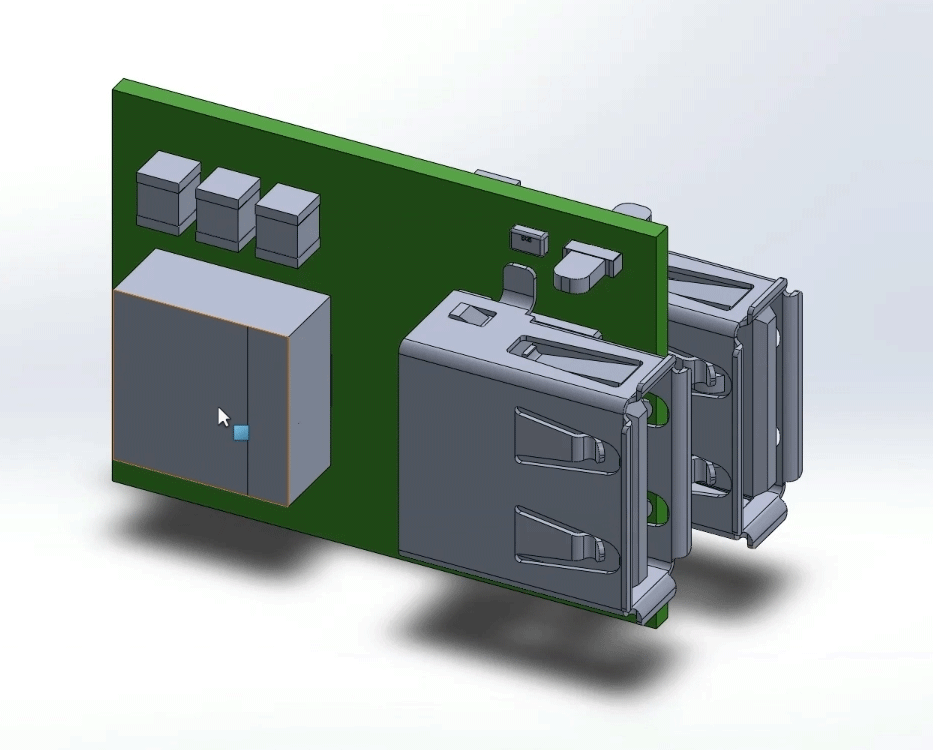
Step 19: View the SOLIDWORKS canvas. The board has been imported and can be checked against other design geometry. Components have been placed on both sides of the board.
Wrap Up & Next Steps
Achieve seamless collaboration between SOLIDWORKS and Allegro or OrCAD to verify the final assembly and ensure a successful end product with MCADx. Upgrade to 23.1 to test out this and other new features in OrCAD X and Allegro X.

