Today’s complex designs often require groups of design engineers to work on a schematic, making efficient communication and seamless team collaboration more important than ever. Feedback can be shared with manual methods, such as adding text to the schematic or taking a screenshot of the issue and emailing it to other designers. These methods, however, can be confusing and don’t guarantee resolution or correct interpretation of the issue. New in OrCAD X Capture 25.1 is design review and markup in the schematic, providing the ability to add comments directly to the schematic canvas to efficiently review designs.
This quick how-to will provide step-by-step instructions on how to use design review and markup in the schematic to embed comments and markup for design reviews in OrCAD X Capture.
To follow along, download the provided files above the table of contents.
To learn how to embed comments and markup with PCB Designer, see our how-to here.
How-To Video
 Open in New Window
Design Review and Markup in the Schematic: Adding Comments
Step 1: Open a design in OrCAD X Capture.
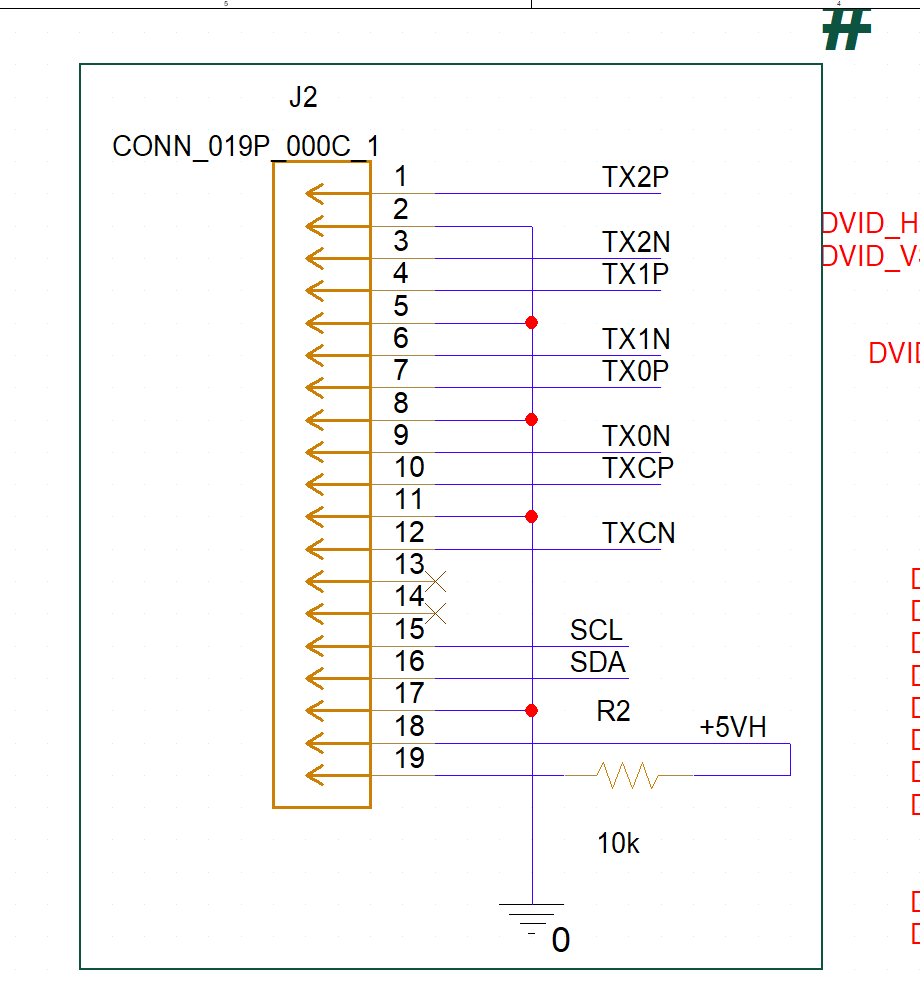
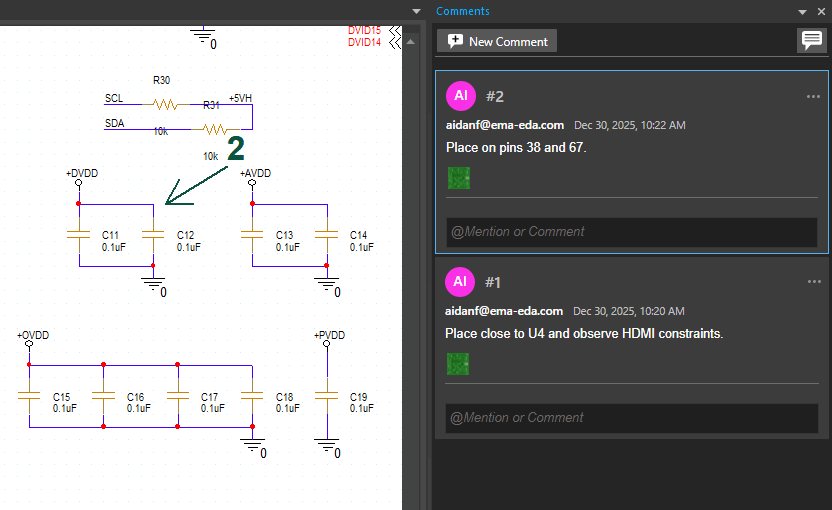
Step 2: Select Tools > Markup from the menu to open the Comments panel.
Step 3: In the Comments panel, select New Comment.
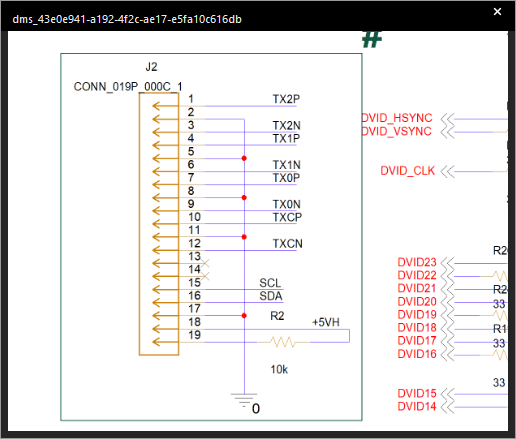
Step 4: Zoom into the desired section of the schematic.
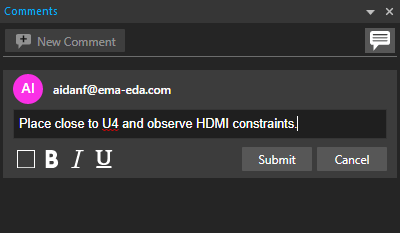
Step 5: Select the Draw Rectangle icon.
Step 6: Click to begin the rectangle. Move the mouse to draw the rectangle over the area of interest on the schematic and click to finish the rectangle.
Step 7: Add the desired comment into the Comment bar.
Note: You can tag coworkers by entering the ‘@’ symbol and their username within the comment.
Step 8: Click Submit. The comment has been embedded into the design database and is now accessible for any users to review.
Step 9: Zoom into another section in the design.
Step 10: In the Comments panel, select New Comment.
Step 11: Hover your mouse over the draw rectangle button and click to select the arrow tool.
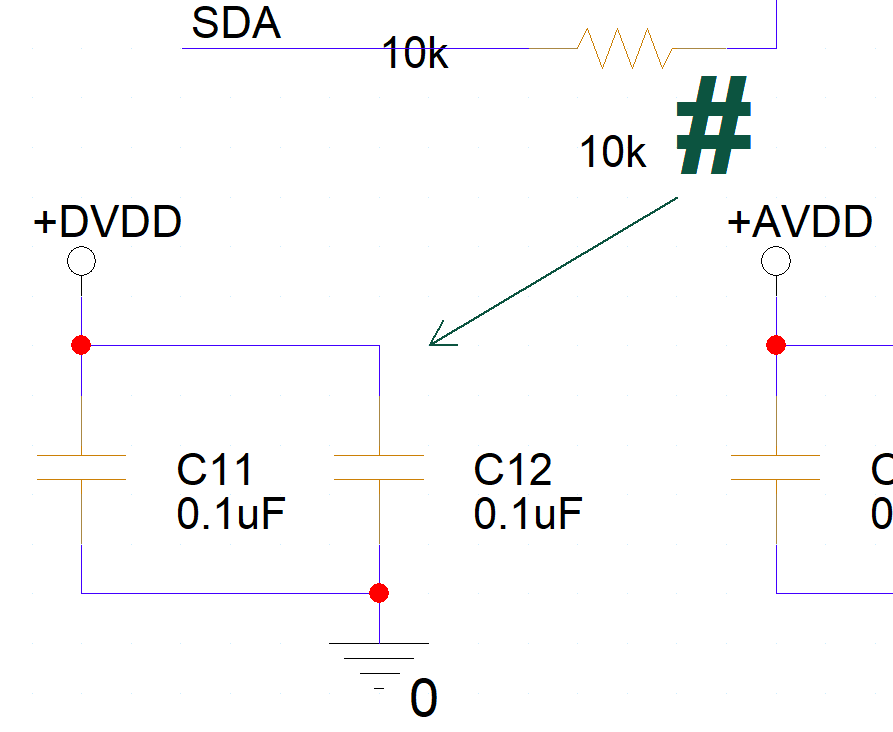
Step 12: Click to start drawing the arrow at its point and click again to draw the tail.
Step 13: Enter the desired comment into the Comment bar. Click Submit to submit the comment when finished.
Design Review and Markup in the Schematic: Reviewing Comments
Once you receive a design with embedded comments and markup, the following steps can be used to review the feedback. Since the comments and markups are embedded in the design files, designs can be shared through manual methods like shared folders and email or integrated methods such as cloud workspaces or OrCAD EDM. A web viewer is also available for stakeholders to review the schematic without installing the software. Get step-by-step instructions on the web viewer here.
Step 14: Open the design file in OrCAD X Capture.
Step 15: Select Tools > Markup from the menu to open the Comments panel.
Step 16: View the comments. Click a comment to be brought to its location in the schematic canvas.
Step 17: Click the PCB icon to bring up a snapshot of the schematic when the comment was recorded.
Step 18: To respond to a comment, click in the @Mention or Comment box and type a response. Click Submit.
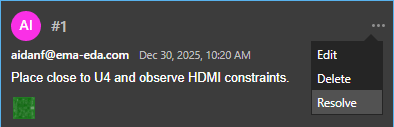
Step 19: To resolve a comment, click the ellipsis at the top of the comment and select Resolve.
Step 20: In the Comments panel, click the comment icon to turn off visibility of the comments.
Step 21: Repeat this process as needed to efficiently communicate with team members and perform design reviews.
Wrap Up & Next Steps
Quickly and effectively review schematic designs and communicate feedback with design review and markup in the schematic with OrCAD X Capture 25.1. Test out this feature and more with a free trial of OrCAD X. Want to learn more about Capture? Get access to free how-tos, courses, and walk-throughs at EMA Academy.

