Lesson 1: Creating a PSpice Project
This walk-through introduces PSpice Designer version 22.1. After you complete this topic, you will be able to:
- Open PSpice and create a new project
- Navigate through the PSpice Start page
- Access PSpice online learning and help resources
 Open in New Window
Opening PSpice
Step 1: Open the Start menu and select Cadence PCB 2022 > Capture CIS 2022.
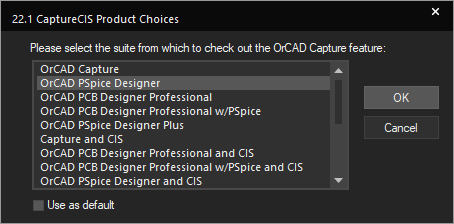
Step 2: The 22.1 Capture CIS Product Choices window will open. Select a license that contains PSpice and click OK.
Note: PSpice Basic is now included in OrCAD PCB Designer Standard and OrCAD PCB Designer Professional.
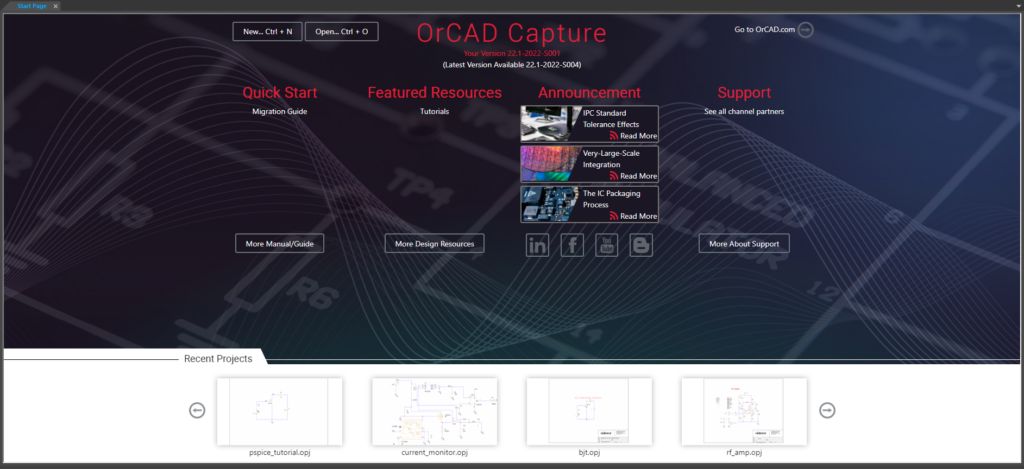
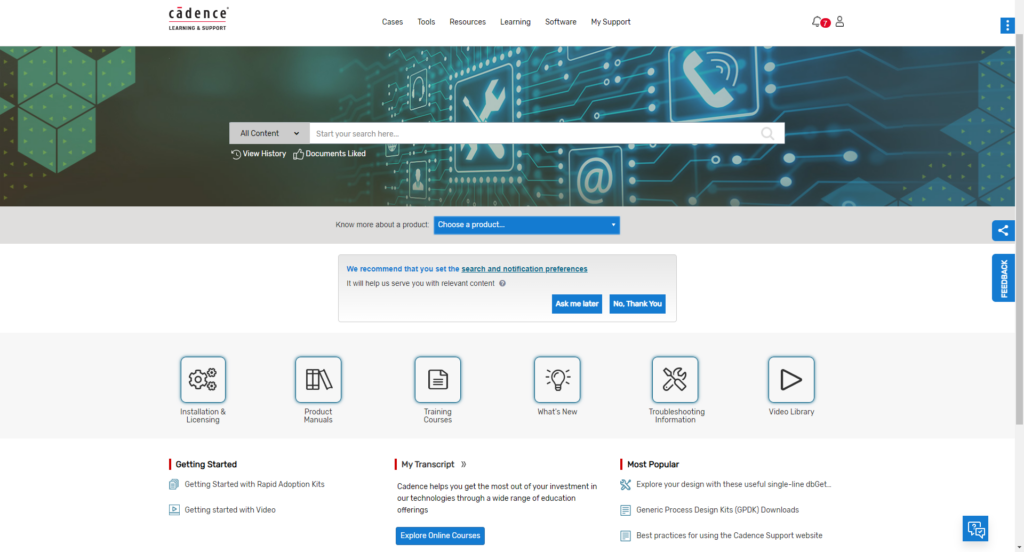
Step 3: View the OrCAD Capture start page.
Note: The Start page shows the latest version of OrCAD available as well as the version downloaded and installed on the current machine. Any recently opened designs are shown at the bottom of the page. The Start Page also provides information and links for:
- Quick Start: Migration Guide and Manuals
- Featured Resources: Tutorials and More Design Resources
- Announcements: New articles are posted by Cadence
- Local support: Your channel partner along with contact information
Viewing PSpice Resources
Step 4: Select Help > Learning PSpice from the menu.
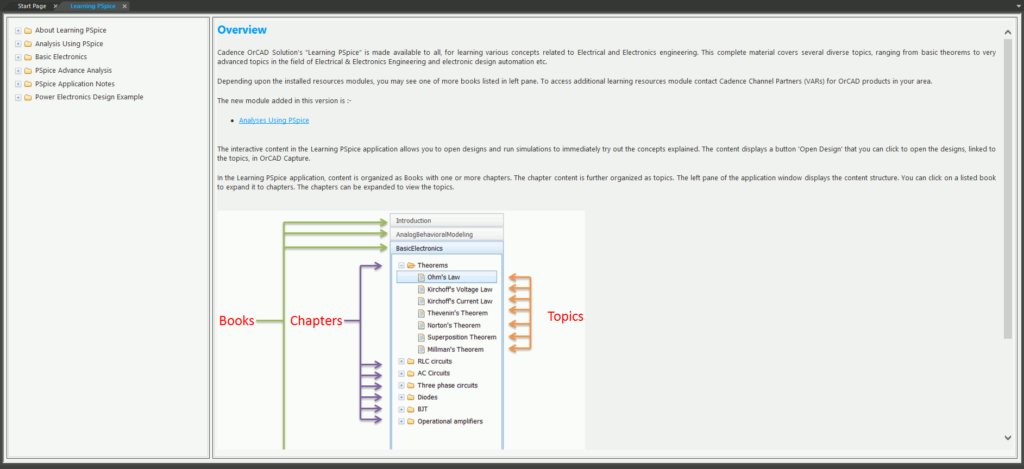
Step 5: View the available resources for help with learning PSpice.
Note: Learning PSpice resources include:
- General overview of PSpice
- Analysis tips
- Basic electronics
- Interactive tutorials with explanations, schematics, and sub circuits
Step 6: Close the Learning PSpice Resources.
Step 7: Select Help > Web Resources > Cadence Online Support.
Note: Here you can search the Cadence databases for answers to questions about the tools and other learning resources.
Step 8: Close the Cadence Online Support.
Step 9: Select File > Open > Demo Designs.
Note: Here you can view, open, and practice with the demo designs which are compatible with various Cadence tools.
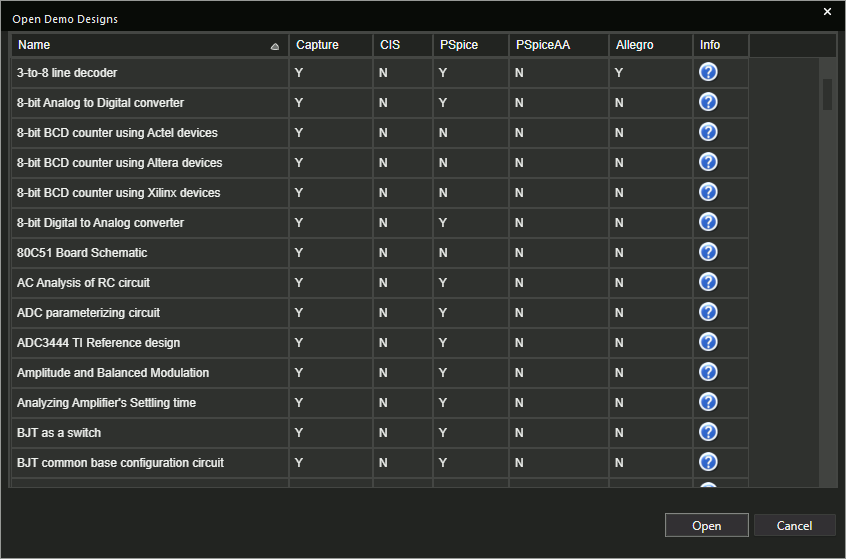
Step 10: Close the demo design list.
Creating a New PSpice Project
Step 11: Select File > New > Project from the menu or select New from the start page.
Step 12: Enter the name PSpice_Tutorial for the project.
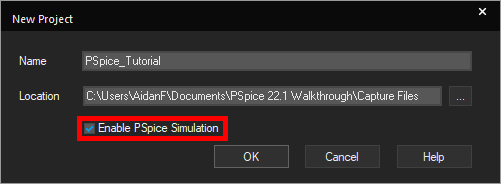
Step 13: Check Enable PSpice Simulation to allow PSpice to be used in the project.
Step 14: Select the ellipsis to open the file browser. Browse to a location to save the project and click Select Folder.
Note: Try not to use any spaces in your project name or project directory, as the tool runs best this way.
Step 15: Click OK to create the project.
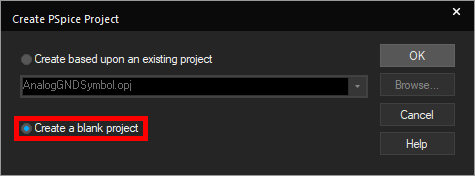
Step 16: With PSpice simulation enabled, the project setting must be defined. Select Create a Blank Project and click OK.
Confirming PSpice Activation
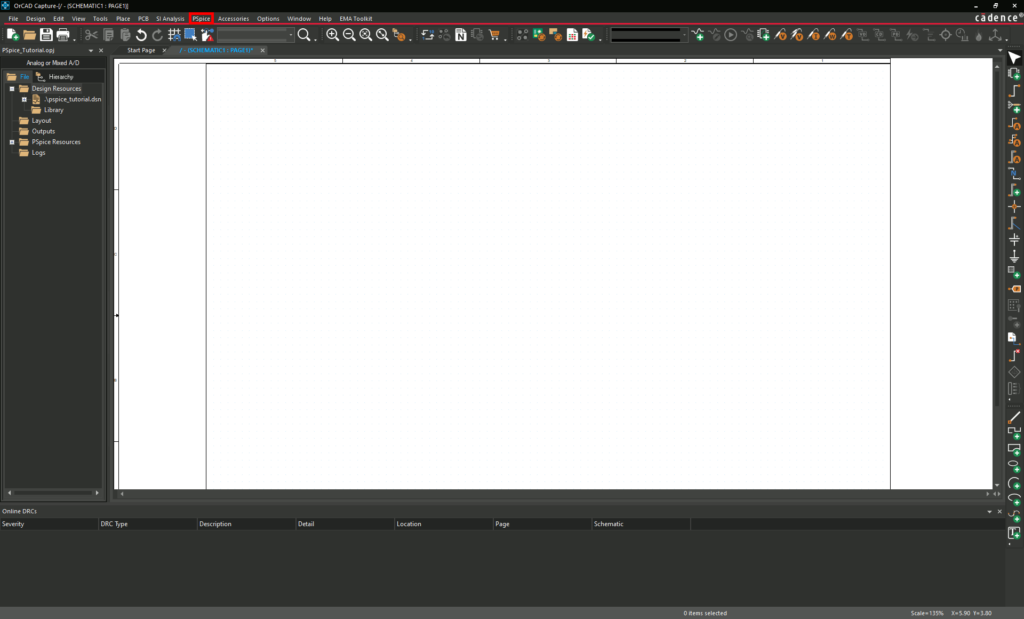
Step 17: Capture will open to a blank schematic. Confirm that you are working with PSpice by locating the PSpice menu in the menu bar as shown above.
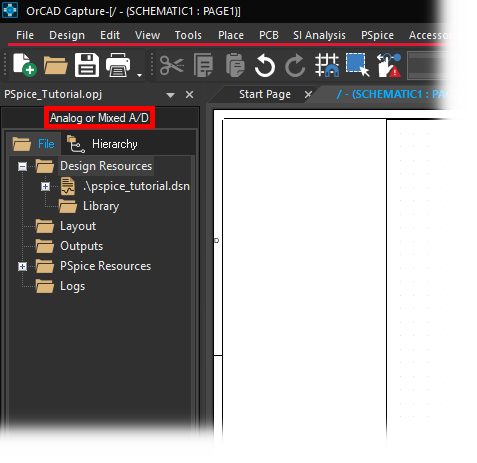
Step 18: Confirm that the Project Manager shows “Analog or Mixed A/D” in its header.

Step 19: Confirm that the PSpice simulation icons are included in the main toolbar.
Note: If the PSpice simulation toolbar is not visible, select View > Toolbar > PSpice.