For a thorough design review, stakeholders and colleagues will need a complete design including part information, net connections, and more. In these cases, printing a standard PDF will not provide the required information for a comprehensive review of the schematic. Configure Ghostscript in OrCAD to generate a Smart PDF including a schematic diagram, part information, and a navigable hierarchy to preserve design IP and improve design review efficiency.
This quick how-to will provide step-by-step instructions on how to configure GhostScript to export a Smart PDF in OrCAD Capture.
To follow along, download the files provided above the table of contents.
How-To Video
Installing GhostScript
Step 1: Open the provided design in OrCAD Capture.
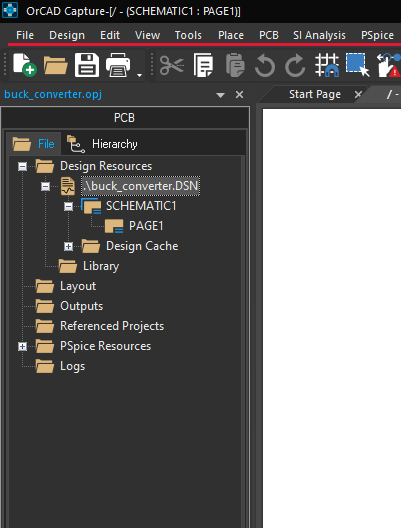
Step 2: Select the buck_converter.dsn file in the Project Manager.
Step 3: Select File > Export > PDF from the menu.
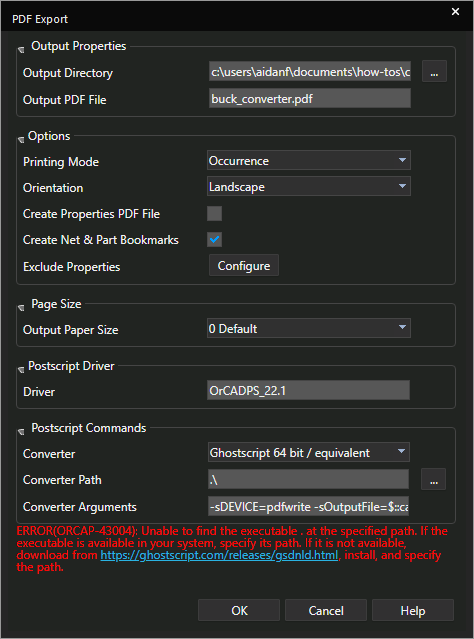
Step 4: The PDF Export window opens. The red text at the bottom of the window indicates that GhostScript cannot be found.
Note: If GhostScript has been installed, green text saying that the GhostScript executable is available is visible. Skip to Generating a Smart PDF.
Step 5: Click the link to open a GhostScript download window.
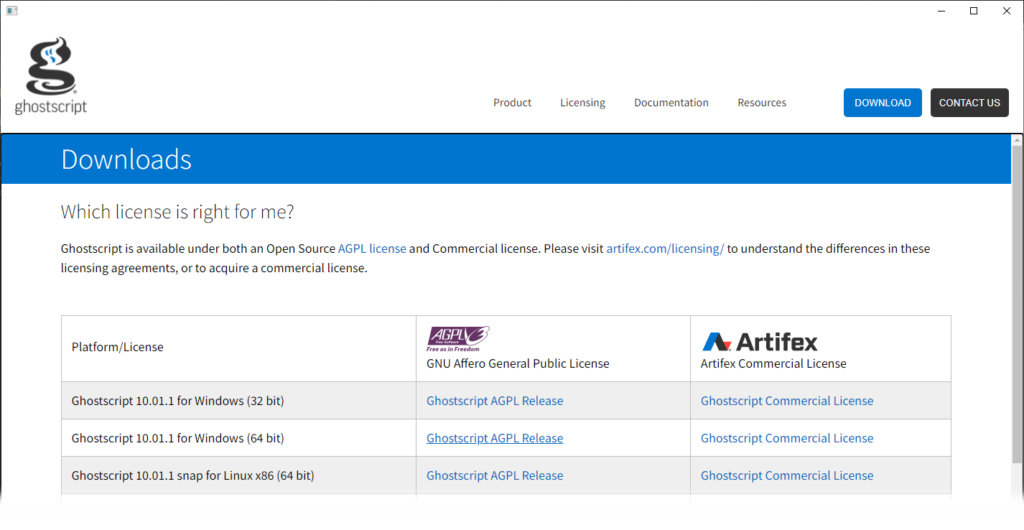
Step 6: Click the appropriate link for your version of Windows to download the installer.
Step 7: The file browser opens. Browse to a location to save the installer.
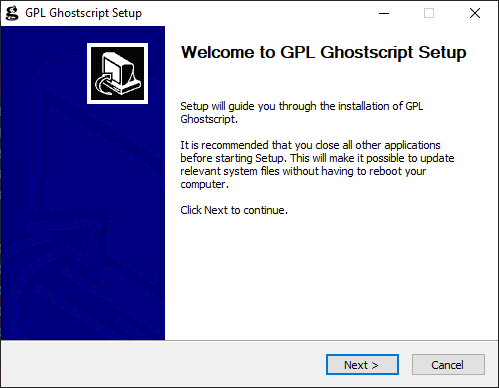
Step 8: Run the installer and follow the on-screen prompts to install GhostScript.

Step 9: Open File Explorer and browse to C:\Program Files\gs\[gs_version]\bin.
Step 10: Select the file path and press CTRL-C on the keyboard to copy.
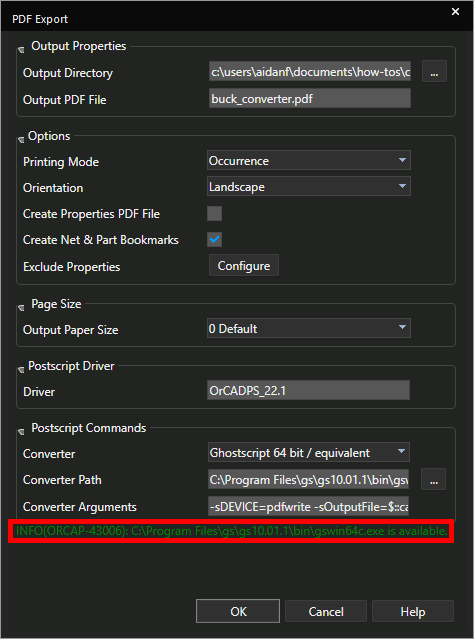
Step 11: Back in Capture, paste the file path into Converter Path.
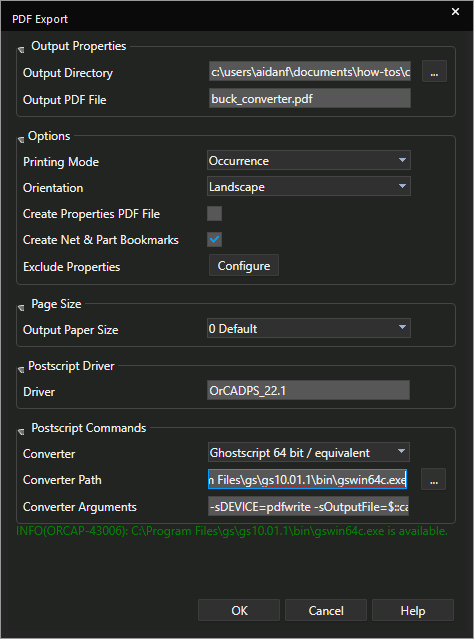
Step 12: Enter \gswin64c.exe at the end to define the executable path. GhostScript has been configured and the Smart PDF can be generated.
Generating a Smart PDF
Step 13: Under Output Properties, select the ellipsis for Output Directory.
Step 14: The File Browser opens. Browse to a location to save the file and click Select Folder.
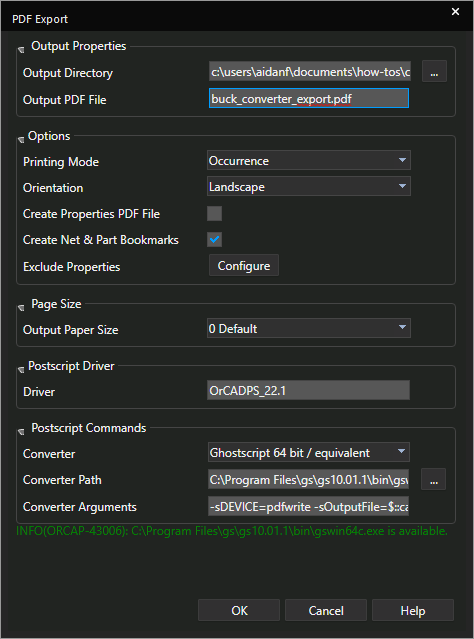
Step 15: Enter a name for the file into the Output PDF File field.
Step 16: Click OK to generate the Smart PDF. The PDF opens automatically in the default PDF viewer.
Navigating the PDF
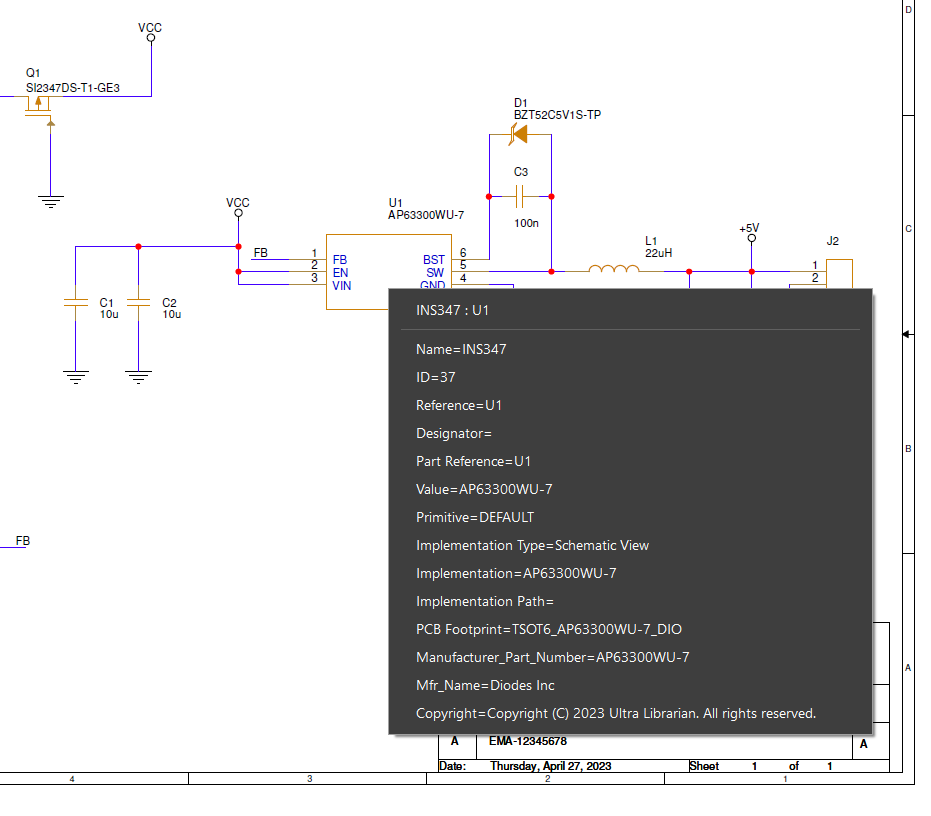
Step 17: The Smart PDF can be used to show relevant part information without Capture. Select component U1 to view its information, including PCB footprint, manufacturer & manufacturer part number, and reference designator.
Step 18: Open the Bookmarks panel.
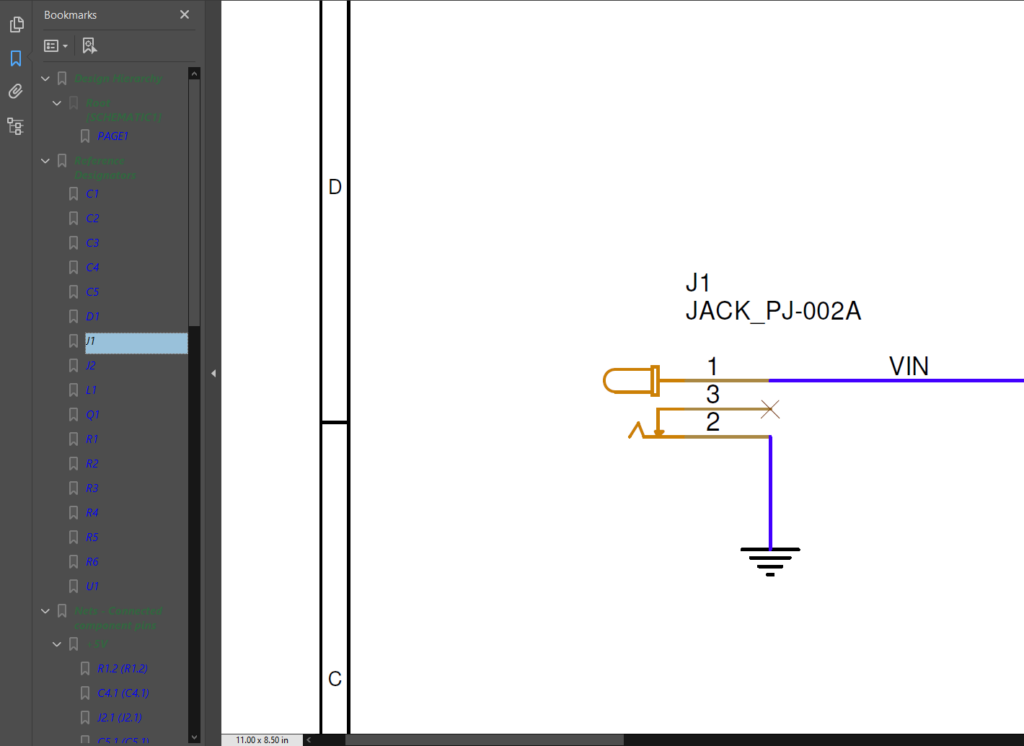
Step 19: Reference designators and nets with their associated component pins are listed. Select the reference designator bookmark for J1. The PDF viewer will zoom into the part.
Wrap-Up and Next Steps
Quickly install and configure Ghostscript to easily preserve design IP and expedite design reviews with Smart PDF generation in OrCAD Capture. Test out this feature and more with a free trial of OrCAD. For more step-by-step instructions on using OrCAD Capture, view our free OrCAD Capture 22.1 Walk-Through.

