EMA Resources

Blog

Home > EMA Resources > Blog > PCB Schematic Design Checklist

PCB Schematic Design Checklist

Following a PCB schematic checklist helps keep your board design on track

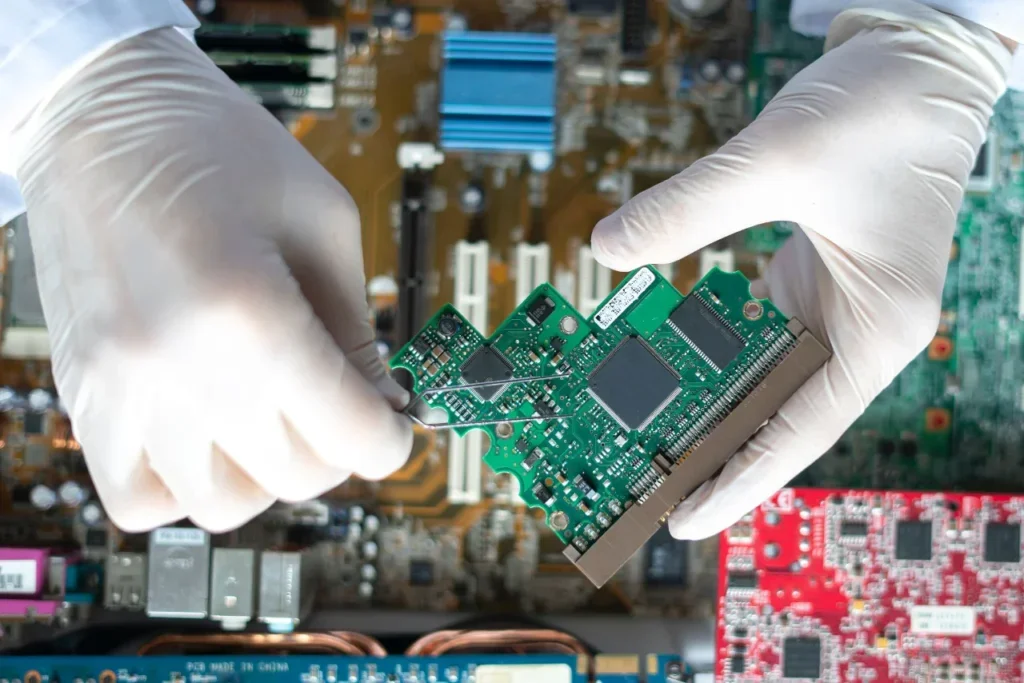
To design is to give tangible meaning to a concept or idea. Specifically, a design can be described as a drawing or plan that defines how something looks, works or functions. Electronic circuit board designs incorporate this definition and consist of two integrated yet distinct stages: schematic capture and PCB layout.

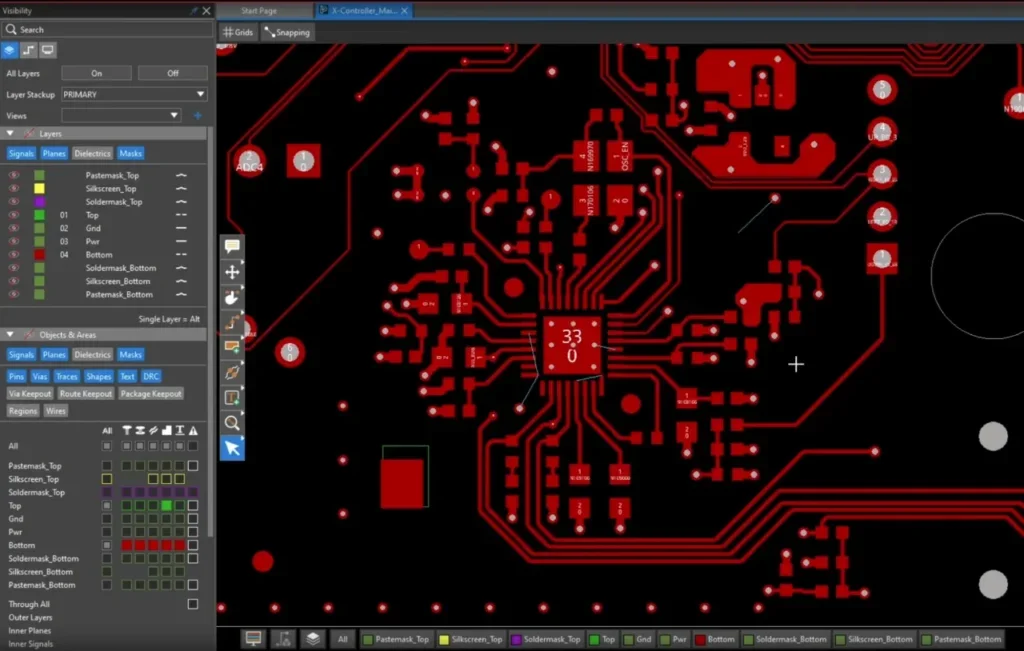
For boards of any degree of complexity, creating a schematic is a mandatory prelude for an accurate and efficient PCB design process. Schematic capture is a multi-step process itself. To ensure that all necessary steps are performed, it is best to follow a well-defined PCB schematic checklist.

PCB Schematic Design Checklist Steps

When designing the schematic for your PCBA, it is important to include the steps below.

PCB Schematic Design Checklist Steps

Steps

Design Action

Purpose

  • ☐ 1

Understand and define design objectives and constraints

It is fundamentally critical that the design objectives be clearly understood as this intent informs and dictates all design decisions.

  • ☐ 2

Create a block diagram

A block diagram helps partition the schematic design into functional blocks based on operation, signal types, etc. This diagram can be extremely helpful when troubleshooting for errors.

  • ☐ 3

Research and select components

Unless you are familiar with a specific part, it is highly recommended that each component be researched and characteristics be checked for adherence with your design’s parametric objectives and constraints.

  • ☐ 4

Create or acquire CAD model library for each component

These parts libraries should include the schematic symbol, footprint, land pattern and 2D/3D model.

  • 5

Place schematic symbols

The schematic drawing begins with a layout of the component symbols. Grouping these as anticipated for the actual board can significantly reduce the time needed for placement and routing during PCB layout design.

  • 6

Connect nets

Wire your circuit being sure to follow component pinout diagrams. Doing so will help to avoid errors like hanging nets, where traces do not have both a source and destination pin connection.

  • 7

Verify connectivity

One of the schematic designers best friends is the design rule check(er) or DRC. Depending on your PCB design tool’s capability, this should be run as often as possible, but is required to create the final netlist.

  • 8

Verify function and performance

During schematic design, it is extremely important to verify your design’s functionality by running simulations. This includes analyzing signals for voltages, currents, impedances, frequency responses and other performance and operational parameters. Failing to do so can and will decrease product development ROI due to redesigns, increased board spins and excessive costs.

  • 9

Create and verify BOM

With a verified schematic design, you can create your BOM. When doing so it is imperative that you use a reliable source that provides up to date parts information. Otherwise, you may fall victim to one of the component shortages or other supply chain issues.

  • 10

Create final netlist

The netlist is needed to push the information contained in the schematic to the PCB layout design stage and contains vital design information including net connectivity. It is important to ensure there are no connection omissions/errors as they may not be detected during the layout stage, but will affect operation once the board is built.

The steps listed above are essential to help you create your schematic efficiently and accurately. This makes the next stage of PCB design, the layout easier and faster. It may be tempting to forego one or more of the steps given; however, doing so can backfire and end up costing you and/or team time and money.

Optimizing Your PCB Schematic Design Process

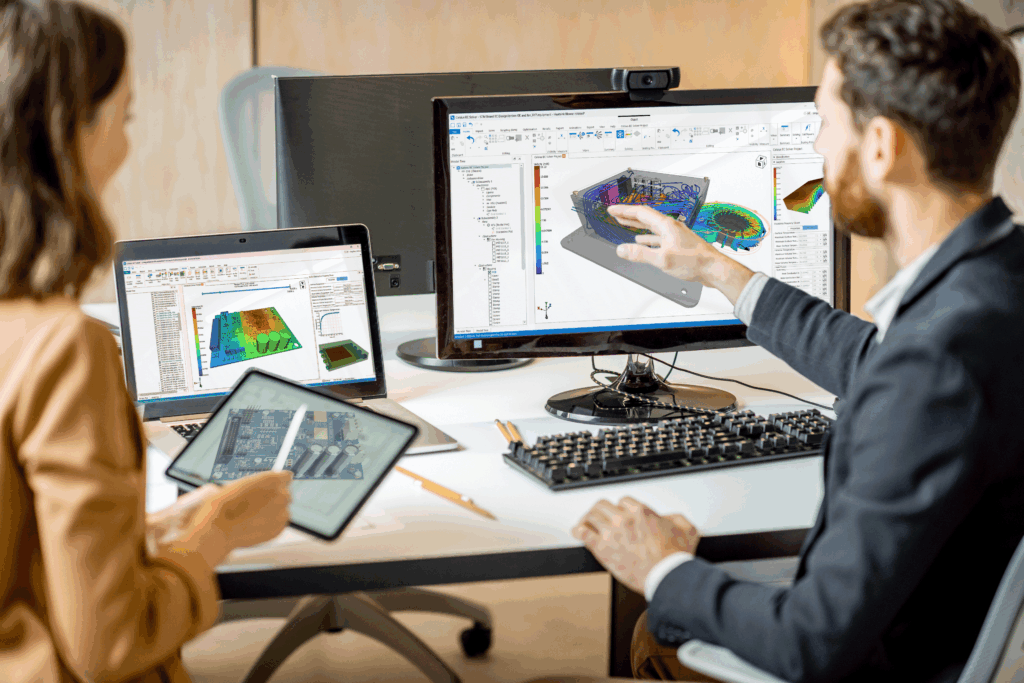
For the most part, today’s product design software tools are very good at performing basic PCBA design functions. However, most have shortcomings and are not equipped to handle all of the important PCB schematic design checklist tasks for optimization. As an example, real-time error checking during design is not a generally available EDA tool capability. And integrated advanced simulation functionality is even rarer. In order to optimize your schematic design process, the following are essential.

Optimizing Your PCB Schematic Design Checklist Implementation

  • Understand and follow the steps of a good PCB schematic design checklist
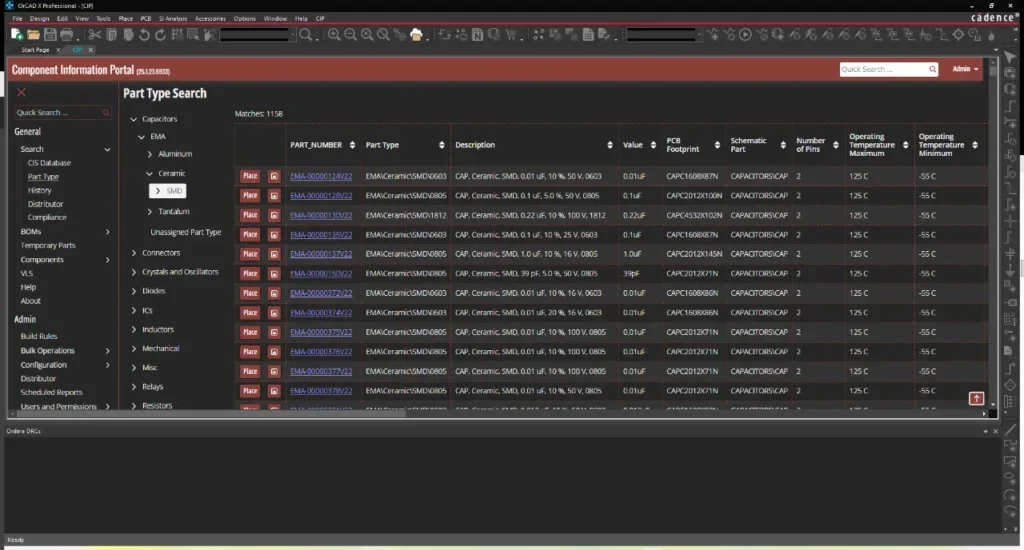
  • Use a capable PCB design software program to implement schematic design steps
  • Select and use simulation software that integrates with your design software to verify your design

By following the guidelines above with a good PCB schematic design checklist as a foundation you can help maximize your circuit board development resource investments and achieve the greatest quality, reliability and profitability results.

EMA Design Automation is a leading provider of the resources that engineers rely on to accelerate innovation. We provide solutions that include PCB design and analysis packages, custom integration software, and engineering expertise, which enable you to create more efficiently. For more information on effective PCB schematic checklist design execution and how we can help you or your team innovate faster, contact us.

LinkedIn
Email

Table of Contents

Get Content Like This Delivered Directly to Your Inbox

Related Resources

EMA Design Automation